Stress-Free Pressure Cooking for Limited Mobility: Adaptive Guide
By Samira Haddad • 4th Nov
When mobility challenges intersect with meal preparation, accessible pressure cooking transforms from convenience to necessity. The right adaptive kitchen tools and procedural habits (not hope) turn safety concerns into confidence. This guide distills years of home safety education into repeatable protocols for pressure-cooker success, prioritizing your physical limits without compromising safety. I've seen neighbors waste hours (and ingredients) wrestling with basic operations because they lacked two-minute pre-checks. Let's build those routines together.
Frequently Asked Questions
How do I safely operate a pressure cooker with limited hand mobility?
Pressure cooking demands precision, but limited dexterity needn't be a barrier. Start with pre-flight checks that require minimal grip strength:
pause, check, proceed (that's your mantra for every step.)
- Lid alignment: Verify handles line up before turning. Misalignment causes steam leaks. Practice this dry-run motion weekly to build muscle memory.
- Float valve verification: Ensure it moves freely without force. A sticky valve (like my neighbor's scorched chickpea incident) can cause dangerous pressure buildup. Clean it with a soft brush after every use.
- One-handed release: Use a long-handled spoon to nudge the pressure-release valve sideways. Never point steam vents toward your body.
Critical caution: Skip quick-release for foamy foods (beans, oats). Natural release prevents clogs that cause splatter. Set phone timers so you're not straining to watch the cooker.
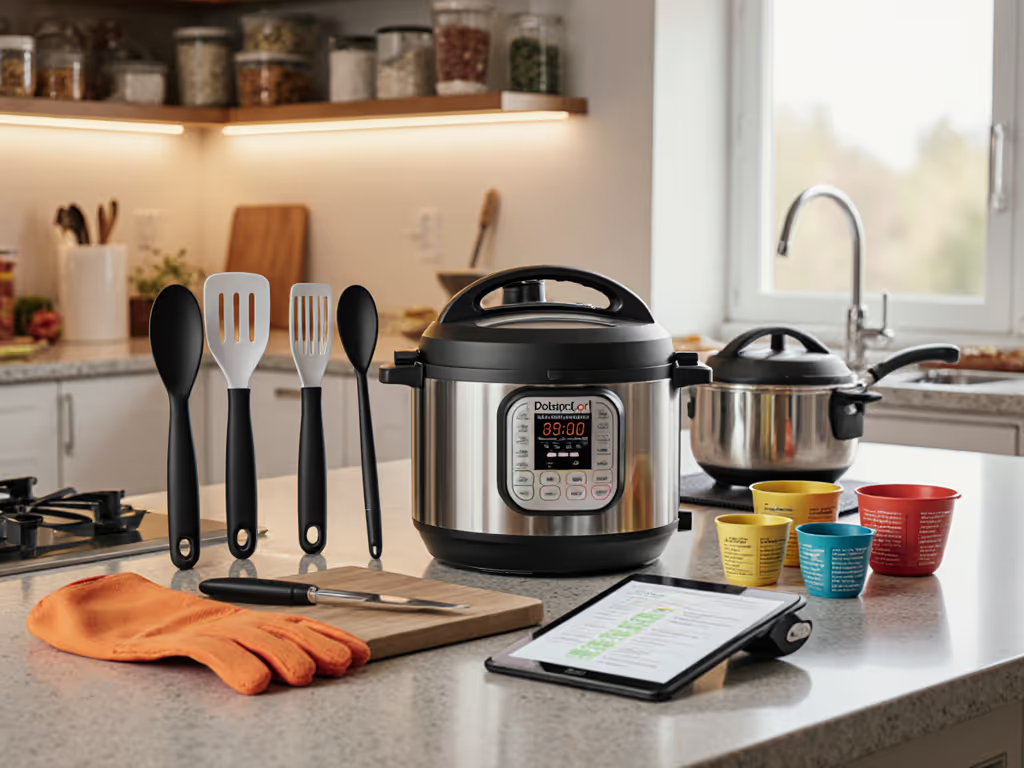
What adaptive kitchen tools prevent strain during preparation?
Prioritize tools that stabilize ingredients and reduce twisting motions:
- Bag holder stands secure containers for one-handed pouring (no juggling jars or spilling broth).
- Silicone freezer molds pre-portion broths or sauces. Pop out cubes without prying.
- Rocker garlic presses mince with downward pressure, not repetitive chopping.
- Non-slip cutting boards with spiked edges hold veggies steady during slicing.
Pro tip: Store all tools within elbow reach. If counters are too high, use a lowered tray table (like my dining room tea station) for prepping. To reduce strain further, consider these must-have pressure cooker accessories that simplify loading, lifting, and steaming. Never stretch over hot surfaces.
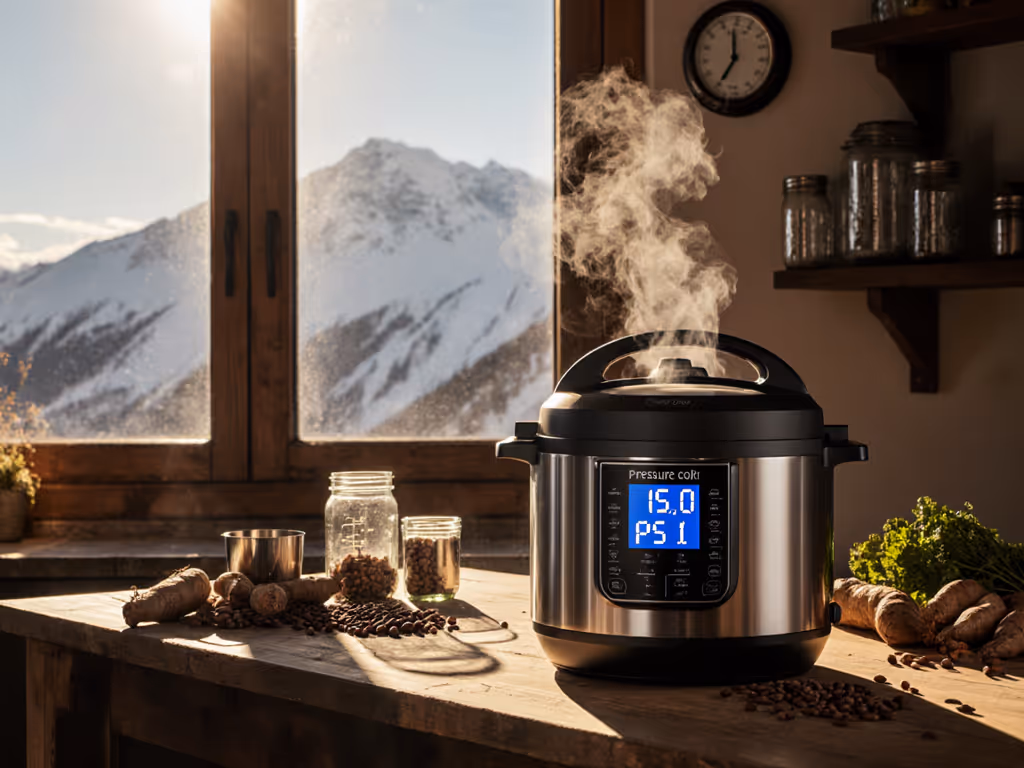
How do I adjust pressure settings for disability-friendly cooking?
PSI confusion causes most failures. Forget brand-specific terms like "High" or "Low." Think in verified pressure levels:
| Food Type | PSI | Action Required |
|---|---|---|
| Beans/Grains | 11-12 | Natural release only (20+ min) |
| Meats/Stews | 9-10 | Natural release 10 min, then quick |
| Steamed Veggies | 5-6 | Quick release immediately |
Key protocols:
- Liquid minimums: Always use 1.5 cups liquid for stovetop, 1 cup for electric. Less liquid risks scorching.
- Fill lines: Never exceed ⅔ full for solids, ½ for foamy foods. Measure ingredients before loading.
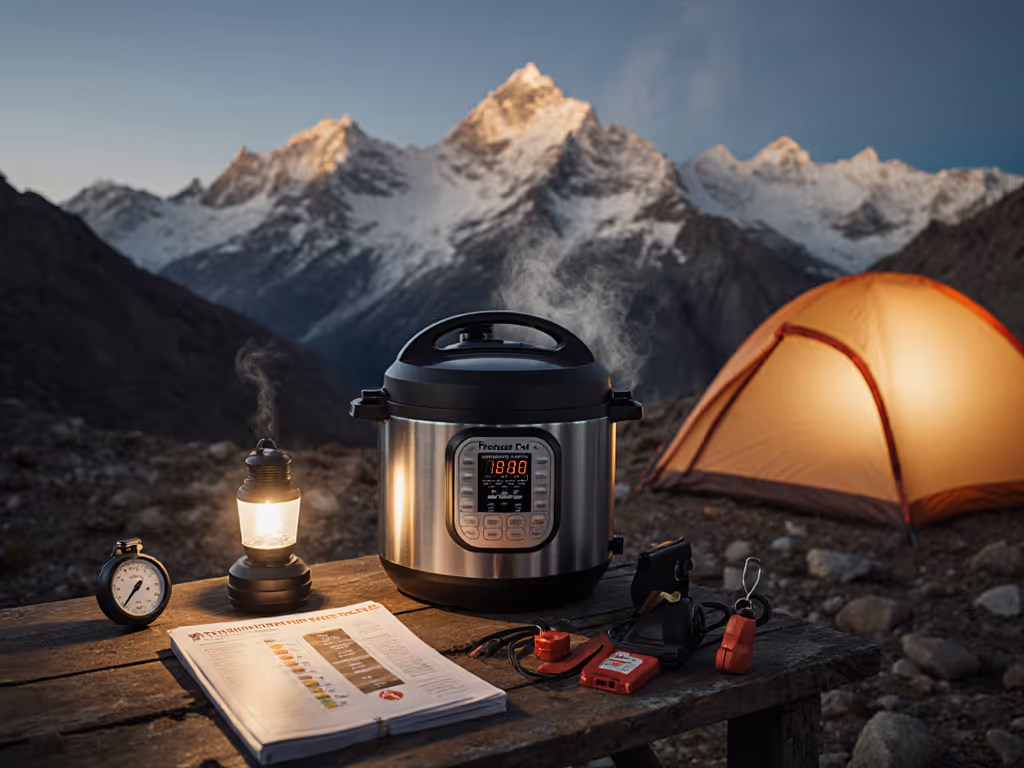
- Altitude rule: Above 2,000 ft? Add 5% cooking time per 1,000 ft elevation. Track this in your kitchen log. For elevation-specific charts and examples, see our high-altitude pressure cooking adjustments guide.
Why do I get "BURN" errors, and how can I fix it without bending?
"BURN" errors stem from liquid contact loss with the heating element, a major risk with limited mobility if you can't monitor closely. Prevent this with:
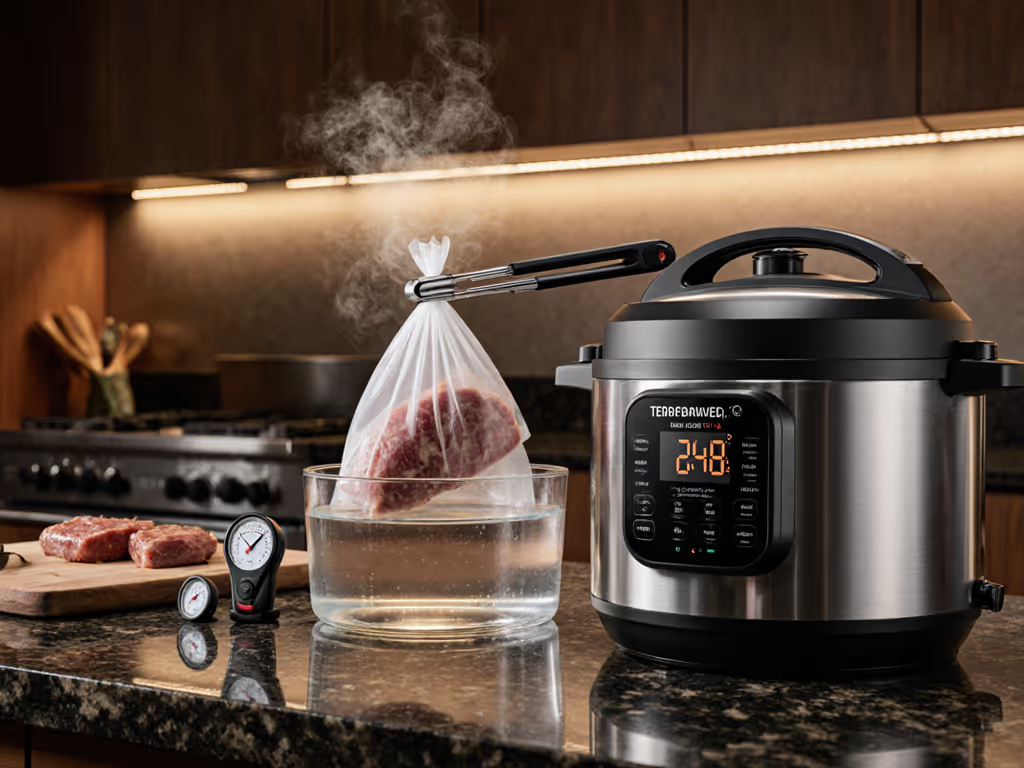
- Preheating patience: Wait 8-10 minutes for oil/broth to shimmer before adding ingredients. Rushing causes instant sticking.
- Pot-in-pot cooking: Place foods on a trivet above liquid. Zero contact = zero scorch risk. Ideal for rice or delicate proteins.
- Batching solids: Cook dense items (meats) separately from grains. Crowding traps steam unevenly.
If "BURN" appears: Turn off power. Do not lift the lid. Wait 10 minutes for pressure to drop naturally, then carefully check liquid levels. Never force a seal. For prevention and step-by-step fixes, see our pressure cooker maintenance guide to keep gaskets, valves, and seals working smoothly.
What's the safest one-handed pressure cooking workflow?
Build this sequence into muscle memory. It takes 90 seconds, but it prevents 95% of accidents:
- Prep station: Lay out broth, seasoning, and tools on a lowered tray.
- Pre-flight check: Inspect gasket for cracks, valve movement, and liquid minimums. Pause, check, proceed.
- Load vertically: Place the cooker on the counter. Slide ingredients in sideways (no heavy lifting).
- Seal verification: Turn the lid until handles align audibly. No straining.
- Timer system: Set two timers: one for cooking, one for natural release.
Remember: Confidence lives in routines, not luck. That neighbor's chickpea disaster birthed a kitchen ritual that has kept her safe for years. Your ritual starts now.
Actionable Next Step
Create your personal pre-flight checklist today. Write it on a 3x5 card:
- Gasket seated correctly?
- Valve moves freely?
- Liquid ≥1 cup?
- Food ≤½ full?
Tape it beside your cooker. Run through it every time, even when rushed. Safety isn't a warning sticker, it is a sequence you practice. In one week, these steps will feel automatic. Until then, pause, check, proceed. Your kitchen, your rules.
Related Articles