Allergy-Safe Pressure Cooking: Dedicated Equipment Guide
By Mei Tanaka • 17th Dec
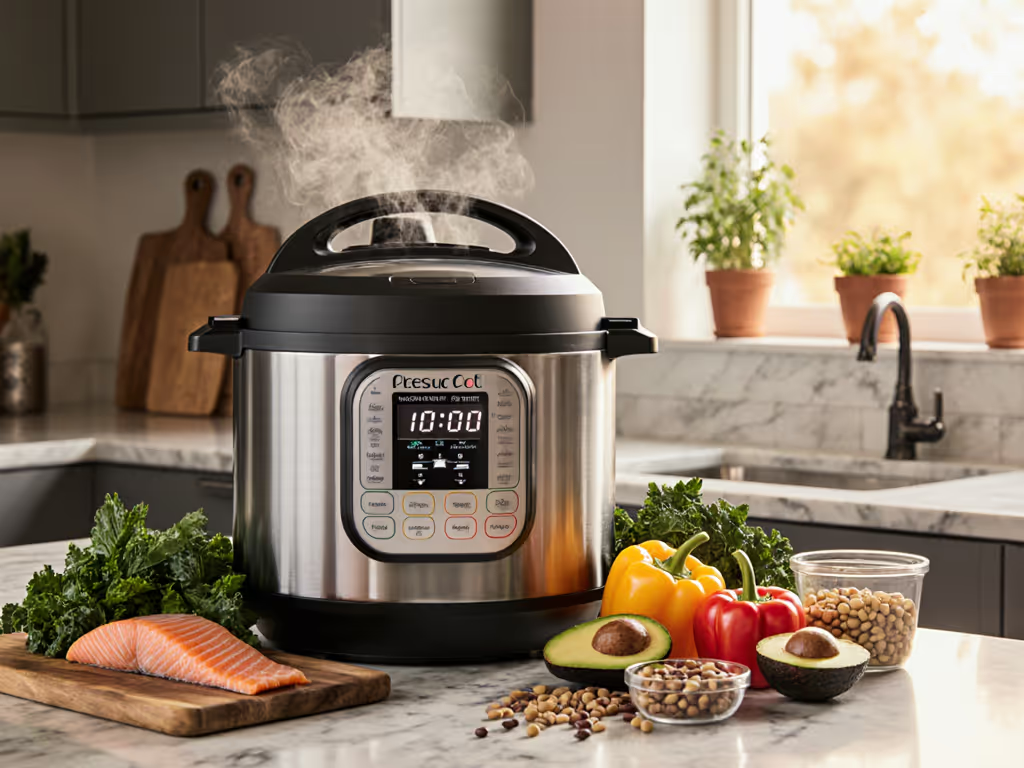
For families managing food allergies, food allergy pressure cooking transforms mealtime from anxiety to assurance. When done right with proper allergen-free pressure cooking protocols, pressure cookers deliver not just speed but safety, especially when dedicated equipment becomes part of your system. Unlike conventional cooking that risks cross-contamination at every turn, pressure cooking's sealed environment minimizes airborne allergen transfer while yielding tender proteins and fully cooked grains in a fraction of traditional time. This guide cuts through the confusion with actionable steps to build an allergy-safe pressure cooking system that works whether you're managing dairy, nuts, gluten, or multiple severe allergies.
Why Dedicated Pressure Cooking Equipment Solves Core Allergy Challenges
Pressure cooking's sealed environment offers unique advantages for allergy management compared to open-flame cooking or shared ovens. The locked lid prevents airborne flour or nut particles from contaminating food during cooking (critical for airborne allergens like peanut dust). Plus, the high heat (reaching 250°F at 15 PSI) denatures proteins more thoroughly than conventional methods, reducing, but not eliminating, the risk from trace contaminants. However, the real magic happens when you implement dedicated equipment protocols. Cross-contamination remains the top cause of accidental exposure according to FDA data, and pressure cookers' nooks (sealing rings, steam vents, inner pot crevices) can harbor allergens if not properly managed. Here's how to build a reliable system:
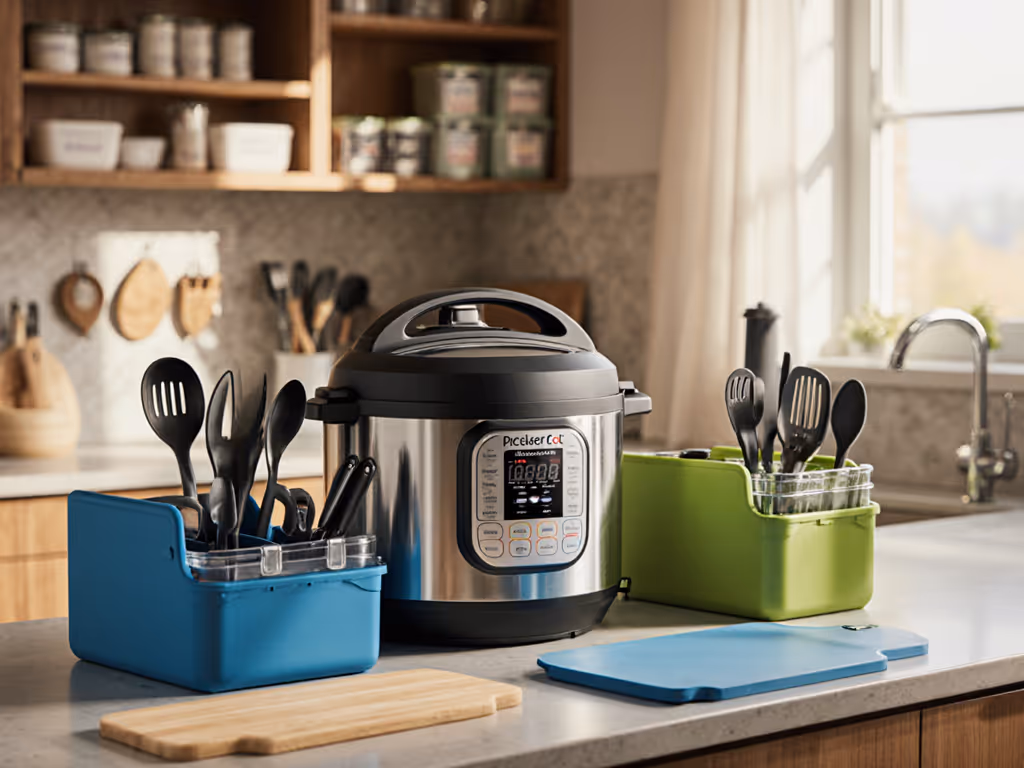
1. Establish Your Allergy-Safe Pressure Cooking Station
Create a physical separation between allergen and allergen-free cooking zones. This isn't just about equipment, it's about workflow. Designate one corner of your kitchen exclusively for allergen-free pressure cooking with its own:
- Color-coded pressure cooker (I use stainless steel for visibility, no hiding spots for residue)
- Separate utensils stored in clearly labeled containers
- Dedicated cutting board and prep space
Kitchen layout matters more than you think. Studies show restaurants with separate prep areas reduced cross-contact incidents by 68%. In home kitchens, this means never placing your allergen-free pressure cooker next to where you're handling allergens. Prep your allergy-safe meals first, before cooking anything containing allergens.
2. Choose Your Dedicated Pressure Cooker Wisely
Not all pressure cookers are equally allergy-safe. After testing dozens of models in my small urban kitchen, I've found these non-negotiables:
- Stainless steel inner pots (no porous coatings where allergens can hide)
- Dishwasher-safe components (critical for thorough cleaning)
- Removable sealing rings in distinct colors (I keep allergy-safe rings bright blue)
- Simple valve systems with minimal crevices
I acknowledge my bias toward large capacity, stainless steel pots, I've found 6-qt models handle batch sizes that feed families while fitting in compact kitchens. If you're deciding between materials, compare stainless steel vs aluminum to choose the safest, most durable option for your setup. The dishwasher-safe requirement is non-negotiable; hand-washing rarely removes microscopic allergen traces from complex valve assemblies. Remember: even "gluten-free" labeled foods processed in shared facilities can carry traces, so your equipment must be truly dedicated.
3. Implement a Cross-Contamination Prevention Protocol
Cross-contamination prevention pressure cooking requires more than just separate pots, it demands a system. My template:
- Prep timebox: 15 minutes dedicated to setting up allergen-free zone before cooking
- Ingredient check: Verify all components are certified allergen-free (not just "may contain")
- Equipment check: Confirm dedicated sealing ring is installed, valve is clear
- Cooking sequence: Always prepare allergen-free meals before other cooking
The CDC confirms that cleaning and sanitizing surfaces before preparing allergy-safe food reduces risk significantly. With pressure cookers, it's not just about surfaces. The steam release valve is a hidden hazard zone. If your cooker struggles to seal or you notice steam escaping, see our steam leak troubleshooting guide to fix and prevent issues. Wipe it thoroughly before and after each use with a dedicated allergen-free cloth.
4. Develop an Allergy-Safe Cleaning Routine
Pressure cookers require specialized cleaning for true allergen safety. My timed process:
- Immediate rinse: Flush interior with hot water within 5 minutes of cooking (prevents residue hardening)
- Dishwasher cycle: Full cycle on highest heat setting (I timebox this at 90 minutes including loading)
- Manual inspection: Check valve assembly and sealing ring groove with flashlight
- Storage: Keep assembled with allergy-safe ring in clearly labeled cabinet
Research shows many allergens aren't neutralized by standard cooking temperatures alone, thorough cleaning is non-negotiable. Follow our step-by-step pressure cooker maintenance guide to deep-clean valves, rings, and lids for true allergen safety. Never assume the "self-cleaning" function on electric models is sufficient for allergen removal; disassemble all components.
5. Create a Foolproof Labeling System
Labels aren't just helpful, they're safety critical. My system uses three elements:
- Color coding: Blue rings = allergy-safe, red = contains allergens
- Clear adhesive labels: "Allergy-Safe: Nut/Dairy/Gluten-Free" on all dedicated equipment
- Storage bins: Separate containers for allergen-free tools marked with bold black text
I learned this the hard way when a houseguest unknowingly used my "regular" sealing ring. Now my labels are impossible to miss, and I timebox label replacement to coincide with my monthly gasket checks. For freezer storage, I note both the dish contents and date using permanent marker directly on containers, no peeling labels that might confuse future me during a Tuesday night rush.
6. Design Batch Cooking Templates for Allergy Safety
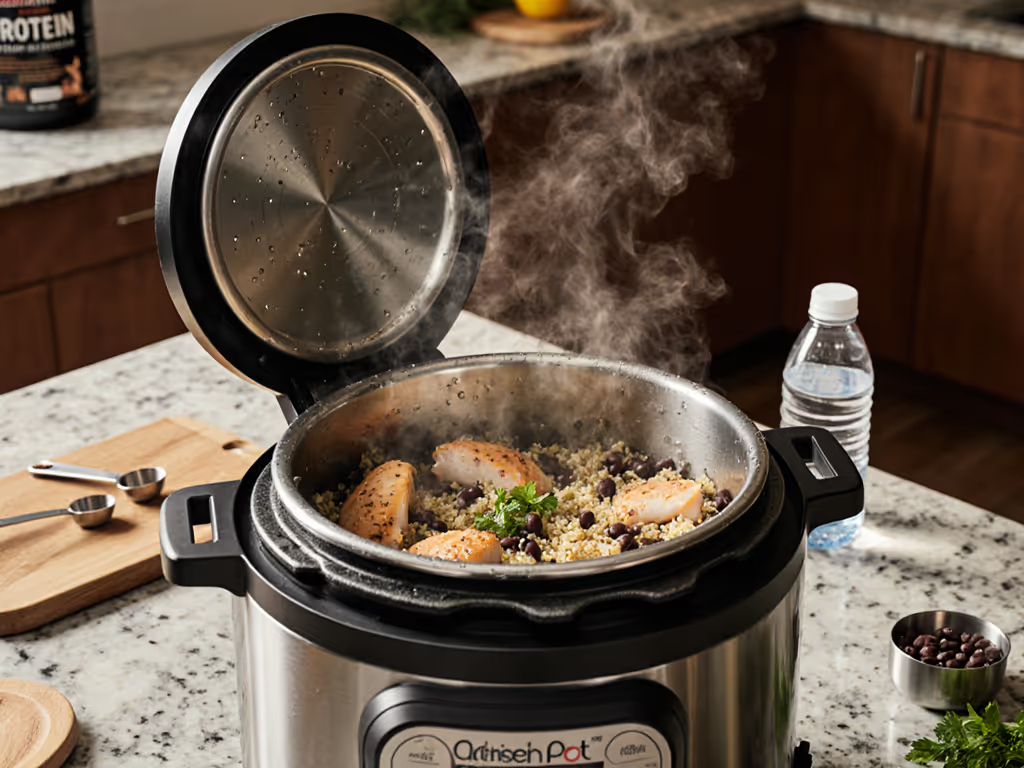
Templates turn pressure into predictable, calm weeknights and full fridges. When I mapped one pressure-cooked pot of beans, one grain, and one protein into five weeknight meals, my Sunday prep vanished from chore to strategic asset. For precise timings and varieties, use our pressure cooker bean guide to batch-cook legumes safely and consistently. For allergy-safe pressure cooking:
- Batch once, enjoy twice: Pressure cook large batches of allergen-free proteins (chicken, tofu), grains (quinoa, rice), and beans
- Yields in cups and portions: Standardize portions (e.g., 4 cups cooked chicken per batch)
- Timebox steps: 20 minutes active cooking, 30 minutes natural release, 15 minutes cooling
- Batch and reheat notes: Document texture changes after freezing
This approach supports safe cooking for severe allergies by eliminating daily exposure risks. I label freezer containers with both allergen status and reheat instructions ("Thaw overnight, microwave 3 mins"), so anyone in my household can safely serve meals.
7. Build Your Allergy-Safe Rotation Schedule
Dedicated equipment only works with disciplined rotation. My weekly rhythm:
- Sunday: Allergy-safe pressure cooking day (batch proteins, grains, soups)
- Wednesday: Midweek refresh (reheat portions, check labels)
- Saturday: Deep clean dedicated equipment (dishwasher cycle + manual inspection)
This creates allergy-safe meal prep that's sustainable. When you treat your allergy-safe pressure cooking system like a precision instrument rather than just another pot, you gain both safety and time. No more last-minute scrambles or "can I eat this?" anxiety.
Your Actionable First Step Toward Allergy-Safe Pressure Cooking
This weekend, implement one change: designate and label your allergy-safe pressure cooker with a permanent marker. Write "ALLERGY SAFE" in bold letters on the bottom of the inner pot and matching sealing ring. Then timebox 20 minutes to deep clean it according to our protocol. That single step creates immediate safety while setting up your system for scaling. Because at the end of the day, managing food allergies shouldn't mean sacrificing time or flavor, just implementing simple systems that work. When pressure cooking becomes part of your reliable allergy-safe workflow, you'll find yourself saying what I do every time I open that steaming pot: cook once, enjoy twice.
Related Articles