Diabetes-Friendly Pressure Cooking: Master Blood Sugar Control
By Mei Tanaka • 12th Nov
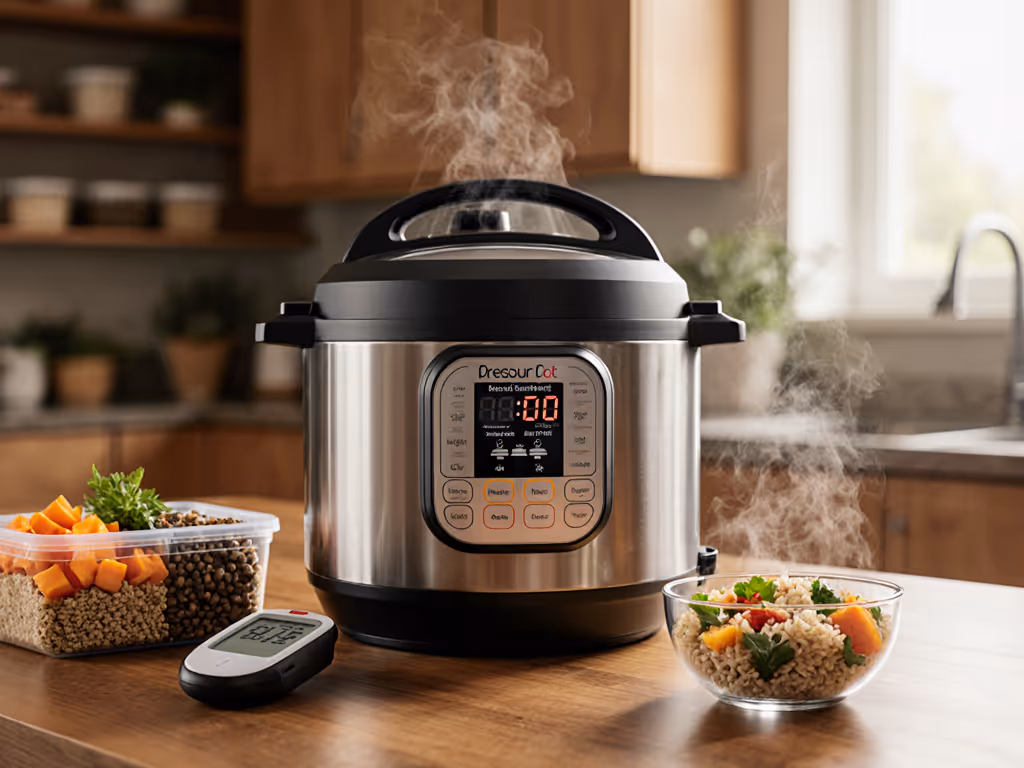
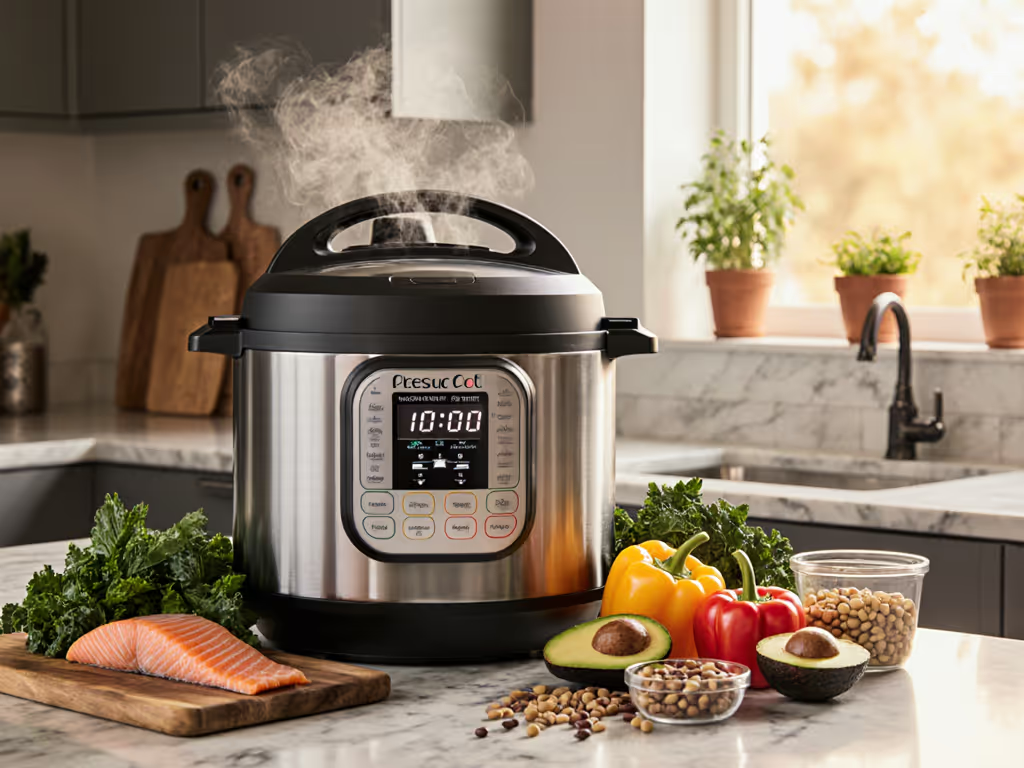
When you're managing diabetes, every meal is a strategic decision. But what if your pressure cooker (the workhorse of your kitchen) could become your most powerful blood sugar management tool? That is where diabetic pressure cooking meets science-backed strategy. Recent research shows that low glycemic pressure cooking techniques can transform common staples like rice and potatoes from blood sugar spikes into stabilized energy sources. By understanding how cooking methods affect starch structure, we can build meals that actually support our health goals rather than working against them. This isn't about restrictive diets, it is about smart kitchen chemistry that delivers predictable results, meal after meal.
How Pressure Cooking Transforms Carb Behavior
The Science Behind Resistant Starch Formation
Pressure cooking does something remarkable to starches that other methods don't: it creates the right conditions for resistant starch formation when combined with strategic cooling. The high heat and steam partially break down starch molecules, then, when cooled, these molecules reorganize into structures our bodies can't fully digest. This "resistant starch" acts like fiber, slowing glucose absorption and reducing the glycemic impact of meals.
A BBC study found that reheated pasta (after initial cooking and cooling) produced a 50% lower blood glucose response compared to freshly cooked pasta. This isn't just theory, it is measurable physiology in action.
A systematic review published in PMC (2024) confirms that parboiling and post-cooking cooling significantly reduce glycemic response. But pressure cooking takes this further, achieving similar effects in less time with more consistent results, especially for tough ingredients like beans and whole grains that typically require hours of simmering.
Cooling and Reheating: Your Secret Weapon
The critical step most home cooks miss? The cooling phase. Pressure cooking alone creates a high-glycemic food if consumed immediately hot. But when properly cooled and then reheated (a simple two-step process you can build into your meal prep routine) you unlock the blood sugar benefits.
For example, pressure-cooked rice:
- Hot and fresh: High glycemic index (GI 73)
- Cooled in refrigerator overnight: Moderate GI (GI 63)
- Reheated the next day: Low GI (GI 53)
This same principle applies to potatoes, pasta, and legumes. For a science-backed overview of nutrient retention and glycemic impact, see our pressure cooking nutrition guide. By timeboxing your pressure cooking for blood sugar control within your weekly routine, you create meals that work with your body rather than against it. Plan your pressure cooking sessions so you always have properly cooled, reheatable components ready for quick assembly.
Practical Pressure Cooking Templates for Stable Blood Sugar
The 3-Step Diabetic Pressure Cooking Framework
- Cook Under Pressure: Timebox your pressure cooking to achieve perfect texture without overcooking
- Cool Strategically: Refrigerate within 2 hours (never at room temperature) for 12+ hours
- Reheat Completely: Always fully reheat cooled components to maintain food safety and maximize resistant starch benefits
This template works for any ingredient. For brown rice:
- Pressure cook 22 minutes at high pressure
- Natural release 15 minutes
- Cool completely in fridge (yields 4 cups cooked rice)
- Reheat portions with 1 tbsp water per cup
Life Extension N-Acetyl-L-Cysteine (NAC)
Supports immune, respiratory, and liver health with antioxidant protection.
$10.13
NAC Content600 mg per capsule
NAC Content600 mg per capsule
Pros
Supports immune and respiratory health effectively.
Provides powerful antioxidant protection.
High-quality, non-GMO, and gluten-free ingredients.
Cons
Can cause stomach discomfort or nausea in some users.
Customers find this N-acetylcysteine supplement to be of high quality and effective for detoxifying the body and supporting immune function. The supplement is easy to swallow and consider it good value for money. However, customers report mixed experiences with stomach discomfort, with some feeling better while others experience nausea. Moreover, the taste receives mixed feedback, with some finding it has no weird taste while others describe it as disgusting. Additionally, the product has mixed effects on itchiness, with some experiencing allergy relief while others report allergic reactions.
Customers find this N-acetylcysteine supplement to be of high quality and effective for detoxifying the body and supporting immune function. The supplement is easy to swallow and consider it good value for money. However, customers report mixed experiences with stomach discomfort, with some feeling better while others experience nausea. Moreover, the taste receives mixed feedback, with some finding it has no weird taste while others describe it as disgusting. Additionally, the product has mixed effects on itchiness, with some experiencing allergy relief while others report allergic reactions.
Batch and Reheat Notes for Maximum Benefit
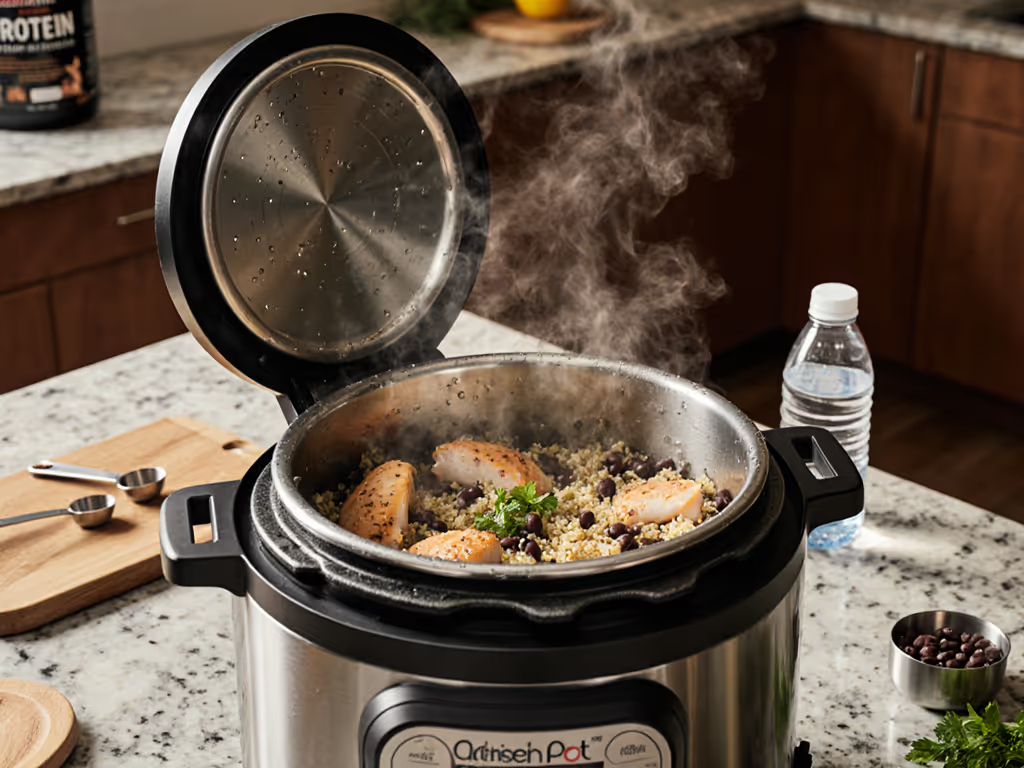
When designing diabetes-friendly recipes, focus on component-based cooking rather than complete meals. I prepare three base elements in one pressure cooking session:
- Protein: Chicken thighs (15 mins HP) or chickpeas (18 mins HP, no soak)
- Batch note: Cook double, cool half for tomorrow's meal, freeze half for week 2
- Reheat note: Add to soups or salads with acid (vinegar) to slow glucose absorption
- Starch: Sweet potatoes (8 mins HP) or quinoa (1 minute HP)
- Batch note: Always cook extra and cool completely before portioning
- Resistant starch tip: Cool quinoa in an ice water bath for 5 minutes to maximize low-GI effect
- Vegetables: Broccoli (0 mins HP) or green beans (2 mins HP)
- Batch note: Cook vegetables separately to maintain texture
- Flavor boost: Toss with olive oil and herbs immediately after cooking
Label fridge and freezer containers with "COOL BEFORE REHEATING" in bold. This reminder ensures the critical cooling step never gets skipped in your busy schedule.
Building Your Weekly Blood Sugar Control System
The Monday-Friday Meal Matrix
Instead of cooking daily, I design one Sunday pressure cooking session that yields five distinct meals through strategic combinations. My template:
| Day | Protein | Starch | Vegetables | Assembly Time |
|---|---|---|---|---|
| Mon | Chicken | Sweet potato | Broccoli | 7 minutes |
| Tue | Chickpeas | Quinoa | Kale | 5 minutes |
| Wed | Chicken | Cauliflower rice | Bell peppers | 6 minutes |
| Thu | Chickpeas | Black beans | Zucchini | 8 minutes |
| Fri | Eggs (hard) | Quinoa | Asparagus | 4 minutes |
This system ensures that pressure cooking for carb management happens only once per week, with minimal daily effort. Each meal stays within 45g net carbs, the threshold most diabetes educators recommend for balanced blood sugar control.
Troubleshooting Common Blood Sugar Challenges
Problem: "My blood sugar still spikes after pressure-cooked meals." Solution: Check your cooling protocol. Foods must reach 40°F or below within 2 hours to maximize resistant starch formation. Use shallow containers for faster cooling.
Problem: "I'm confused about portion sizes for stable blood sugar." Solution: Always measure yields in cups and portions after cooking. For starch components, aim for 1/2-3/4 cup per meal depending on your carb tolerance.
Problem: "I don't have time to cool foods before eating." Solution: Maintain a "cooling queue" in your fridge (always have one batch cooling while you eat the previous day's meal). It takes 10 seconds to rotate containers.
Final Verdict: Your Path to Predictable Blood Sugar
The evidence is clear: glycemic index pressure cooking isn't just possible, it is remarkably simple when you understand the science. By incorporating strategic cooling and reheating into your pressure cooking workflow, you transform ordinary ingredients into blood sugar-stabilizing meals without special products or expensive ingredients.
This isn't about complicated diets or restrictive eating. It is about working with your kitchen tools to create predictable results. When I mapped out my pressure-cooked beans, grains, and proteins into a weekly template with clear cooling protocols, my Sunday nights stopped vanishing into dishes. Instead, I gained predictable, calm weeknights and a full fridge, quiet week.
Templates turn pressure into predictable, calm weeknights and full fridges. Start with one starch component this week (rice or potatoes) and master the cooling/reheating cycle. Measure your blood sugar before and after to see the difference. That single change, perfectly executed, will deliver more blood sugar stability than any complicated diet plan.
In the end, it is not about what you remove from your diet, it is about what smart kitchen systems you add. And when those systems fit seamlessly into your existing routine, blood sugar control becomes less of a chore and more of a quiet victory.
Related Articles