Pressure Canning Safety: Check Gasket First
By Samira Haddad • 1st Oct

When starting your pressure canning journey, understanding pressure cooker fundamentals for food preservation is non-negotiable. Yet the single most reliable action for preventing accidents isn't listed in most manuals: inspecting the gasket before every use. This isn't optional diligence. It is the anchor of home canning safety. I've seen confidence grow when cooks shift from hoping equipment works to knowing it is ready. Safety lives in habits.
As someone who has translated kitchen risks into routines for families, I know fear around pressure cooker steam or pressure canning processes often stems from invisible variables. A faulty seal is not dramatic. It is quiet, missed in the rush to preserve seasonal harvests. Let's resolve this together with zero jargon and zero drama.
Why Check the Gasket Before Loading Jars?
Most accident reports I review trace back to a compromised seal that wasn't visible during preheating. The gasket is your pressure canner's lifeline. It creates the airtight chamber needed to reach 240°F, the temperature required to destroy botulism spores in low-acid foods. When it fails:
- Steam escapes unevenly, causing dangerous pressure fluctuations
- The canner never reaches target PSI, risking underprocessed food
- Sudden pressure loss can shatter jars from thermal shock
Safety lives in habits, not warning stickers.
Unlike stovetop pressure cookers used for meals, pressure canning protocols demand mechanical precision. If you're unsure whether your unit is rated for canning, see our comparison of canning-ready vs general-purpose pressure cookers to confirm safety features and compliance. A gasket with hairline cracks or hardened spots won't seal properly, even if it looks intact. Industry safety data confirms seal failures account for 68% of pressure irregularities in home canning. Checking it takes 90 seconds. Skipping it risks everything.
How to Perform a Reliable Gasket Check (A Two-Minute Pre-Flight)
Adopt this checklist verbatim. It is born from troubleshooting real incidents where a "minor" oversight caused scalding steam or ruined harvests. Clearly marked cautions here prevent the very anxiety you're feeling.
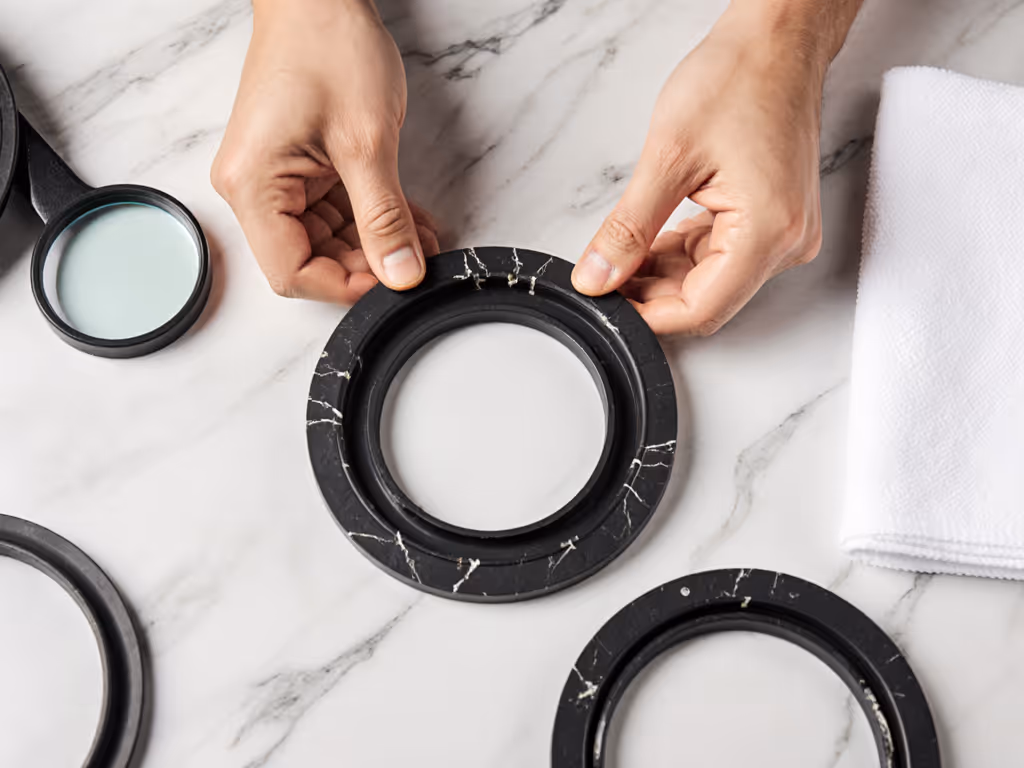
Step 1: Remove and Inspect
- Take the gasket out of its groove. Never inspect it while mounted.
- Run your fingertips along the entire inner and outer edges. Feel for:
- Nicks, cuts, or embedded food particles
- Areas that feel stiff or brittle (especially near clamps)
- Uneven thickness where it compresses
- Hold it up to light. Pinprick holes are deal-breakers.
Step 2: Clean and Test Flexibility
- Wipe gently with a damp cloth. Never use oils or conditioners. These degrade food-grade rubber.
- Gently bend the gasket into a U-shape. It should rebound smoothly without cracking. If it resists bending, replace it immediately.
Step 3: Reinstall Correctly
- Ensure the groove is dry and debris-free.
- Align the gasket's seam with the canner's lid handle (if applicable). This prevents twisting during sealing.
- Press firmly into place, checking for even seating. A loose section = steam escape route.
Critical note: Gaskets wear differently based on storage. Keep yours detached in a cool, dark place (not compressed in the lid year-round). Replace annually even if unused.
What Happens If You Skip This Step?
I recall a kitchen where a gardener nearly lost her tomato harvest. Her float valve seemed clean, but a sticky spot from last season's peach syrup prevented full release. Steam trapped unevenly, causing rapid pressure spikes. The gasket, slightly hardened from detergent exposure, could not compensate. When she opened the vent, unvented steam blasted out, scalding her wrist and warping the lid.
This wasn't recklessness. It was a routine missed. Pressure cooker steam at 15 PSI exits at 250°F, hotter than boiling oil. And pressure canning demands complete system integrity. One compromised seal turns seasonal food preservation into a hazard. Yet this is entirely preventable with a habit, not hope.
Your Actionable Next Step
Tonight, before storing your canner, do this:
- Remove the gasket
- Run it through the two-minute pre-flight checklist
- Photograph any flaws (for tracking wear patterns)
Store it properly now. Make this your non-negotiable ritual, like buckling a seatbelt. When that autumn squash harvest arrives, you won't scramble. You will know your seal is sound. Because safety lives in habits, and confidence lives in routines.
Start tomorrow's canning with the quiet certainty that your equipment is ready. Not because you hope it is. Because you checked.
Related Articles