Best Pressure Cookers for Perfect Poached Eggs
By Nia Mbatha • 6th May
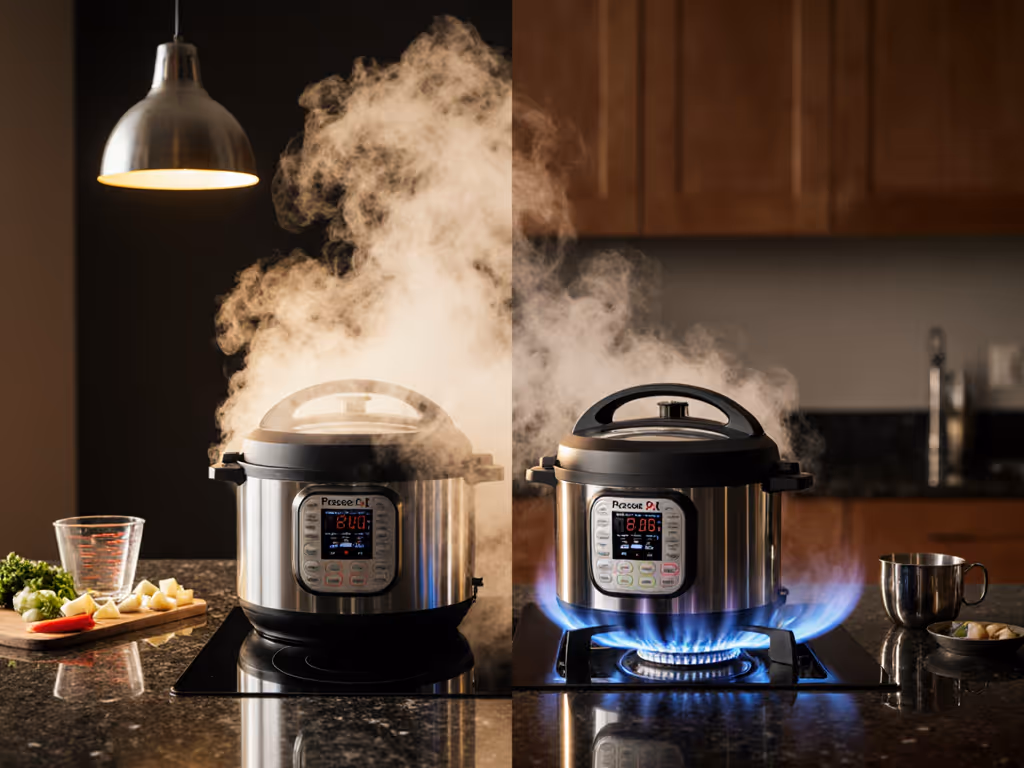
Cooking delicate proteins like poached eggs in a pressure cooker seems counterintuitive, these are foods that demand precision and gentleness. Yet delicate protein pressure cooking, particularly poached egg pressure cooker methods, reveals how much modern pressure cookers have evolved beyond one-note speed machines. The challenge isn't whether it's possible; it's whether your cooker gives you the clarity and control to do it consistently. That distinction matters. I've tested cookers with vague pressure indicators, hissing valves that drown out timer alarms, and displays so washed out in morning light that users guessed at doneness. These failures compound when cooking eggs (where a two-minute miscalculation means the difference between a runny yolk and a chalky one).
This guide cuts through the confusion. If you're brand new to pressure cooking, start with our first-time use guide. We'll walk through the real obstacles home cooks face when cooking delicate foods, the specific features that separate reliable cookers from frustrating ones, and practical workflows that deliver perfect results. Because clarity is kindness, and in the kitchen, that kindness extends to your time, your wallet, and your confidence.
Why Pressure Cookers and Eggs Seem Like Opposites (But Aren't)
Can you actually cook poached eggs in a pressure cooker?
Yes, but the method requires rethinking what "pressure cooking" means for delicate proteins. A pressure cooker works by trapping steam to raise the boiling point of water, cooking food faster under high heat. For tough cuts and dried legumes, this is an asset. For eggs, it's a liability you must actively manage.
The trick: you're not cooking eggs at pressure. Instead, you use the pressure cooker as a sealed vessel for gentle, even steam. You preheat water, carefully lower eggs into a steamer basket (never directly in boiling water at high pressure), and cook at low pressure for 4-5 minutes (shorter than a stovetop boil), then quick-release the steam. The sealed environment ensures consistent temperature and eliminates temperature swings that cause rubbery whites.
Why this matters: a cooker's low-pressure setting is only reliable if the display clearly shows it, the valve responds immediately to your input, and the vent releases quietly so you can hear when pressure drops. I tested a model once with a hissing valve so loud I missed my own verbal timer cues. That cooker failed the test not because it couldn't cook eggs, but because it made certainty impossible.
What makes egg cooking different from typical pressure-cooker recipes?
Most pressure-cooker meals (braises, beans, grains) tolerate small timing errors. Add a minute to pulled chicken, and it's still tender. Add a minute to eggs, and you've crossed into graininess. Delicate food pressure cooking demands precision at every step: accurate preheat detection, reliable pressure indicators, and consistent release timing.
Additionally, eggs are prone to "scrambling" if pressure rises too fast or if the vessel isn't full enough of liquid (pressure cookers need a minimum liquid level to build steam). A low-quality cooker with no liquid-level indicator or a manual that doesn't specify water volume becomes a guessing game. Unclear instructions aren't just inconvenient; they're a safety issue (too little liquid can cause a burn-out alarm on electric models, wasting ingredients and eroding your confidence).
What Features Matter Most for Cooking Delicate Proteins?
1. Precise Pressure Control and Display Clarity
A cooker must offer both low and high pressure settings, with a display (digital or analog) that's legible in daylight and clearly shows which pressure level is active. Avoid cookers with displays that wash out or rely on tiny lights; these force you to lean in, increasing the risk of steam exposure.
Firm rubric: If you can't read the pressure setting from 12 inches away in normal kitchen lighting, it loses a point. Clarity is not negotiable (not just for delicate cooking, but for safety overall). Ease-of-use is a safety feature, not a luxury.
2. Reliable Pressure Indicators and Quiet Valves
Look for cookers with both a pressure line (the visual indicator that rises as pressure builds) and a gentle hissing or secondary valve that regulates excess pressure. Avoid models where the main release valve is your only pressure gauge. You'll be staring at the cooker, waiting for it to settle.
Quiet valves matter more than marketing suggests. A loud, shrieking vent means you can't hear your kitchen timer, you can't have a conversation, and you're more likely to release pressure impatiently. Soft, steady airflow indicates better engineering and a more forgiving release experience.
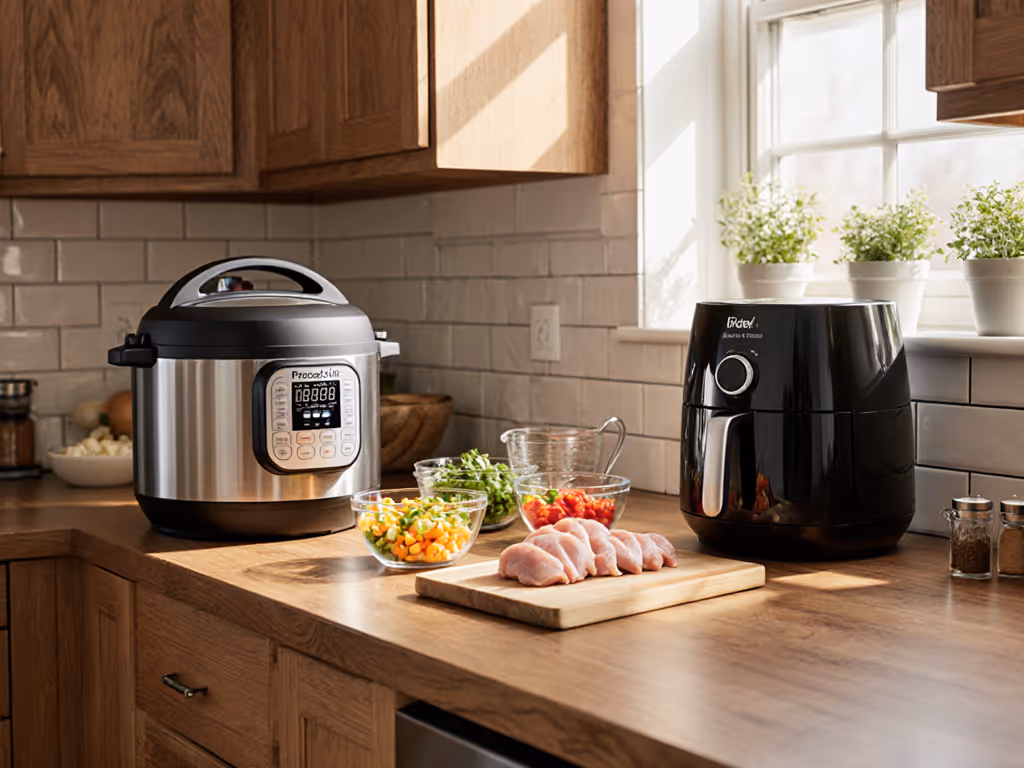
3. Accessible Steamer Baskets and Inserts
For eggs, you need a steamer rack or basket to keep eggs elevated above boiling water. Some cookers come with thin racks that are hard to grip and don't sit stable. Test the rack in person: can you insert it with wet hands? Does it have handles, or do you risk your fingers? A poorly designed basket adds seconds of friction (and risk of dropping eggs) that shouldn't exist. For model picks and performance data, see our steam basket performance guide.
4. Straightforward Release Options
Differentiate between quick release (venting pressure immediately via the valve) and natural release (letting pressure drop on its own over 10+ minutes). For eggs, quick release is typically used to stop cooking immediately. Cookers that conflate these options or hide the quick-release mechanism in menus are problematic. A physical, easy-to-find quick-release button or lever that you can identify in the moment of cooking is essential. No hunting through settings when steam is rising.
Perfect Poached Eggs Technique: Step by Step
The Setup
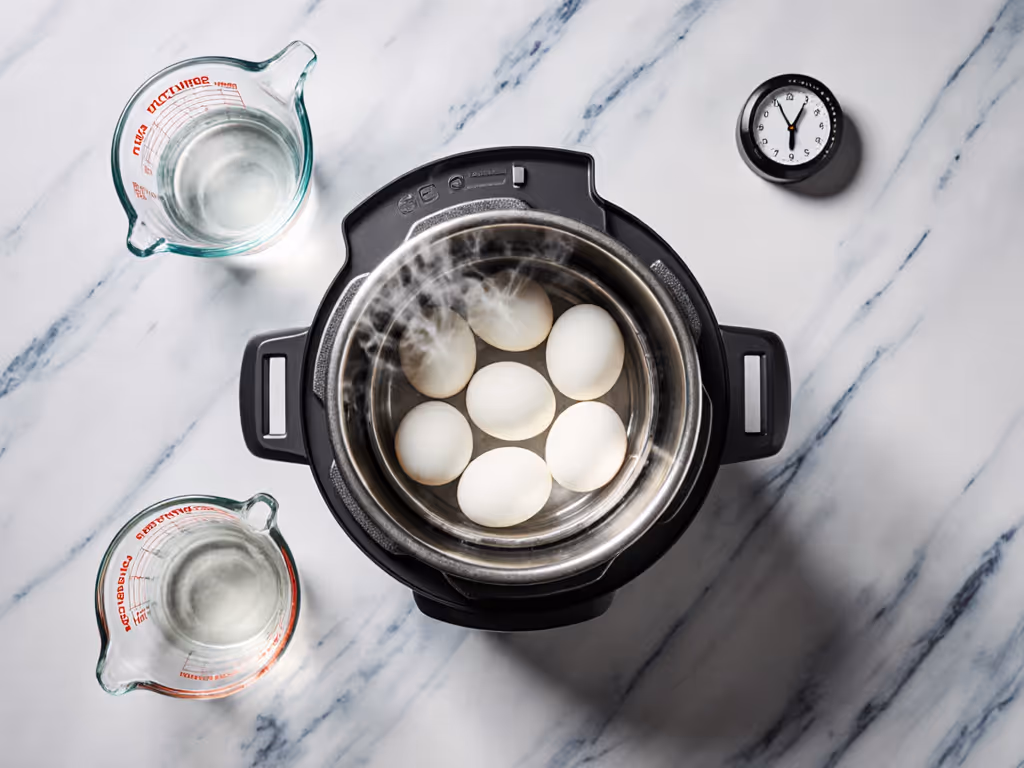
- Add water: Pour 1-1.5 cups of water into the pressure cooker (check your model's minimum; it's usually printed on the interior). Use the water line as a visual cue; don't eyeball it.
- Insert the steamer basket: Lower it into the pot and ensure it's sitting flat and stable.
- Preheat the cooker: Cover (don't lock the lid), and bring the water to a simmer over medium-high heat on a stovetop or activate "Sauté" mode on electric models. This takes 3-5 minutes. Why preheat? Cold water means slower, less predictable pressure rise. Temperature consistency is how you achieve egg texture control.
- Prepare eggs: While water heats, gently place eggs (in their shells, cold from the fridge) on a towel. You'll place them carefully into the basket once steam is visible.
The Cook
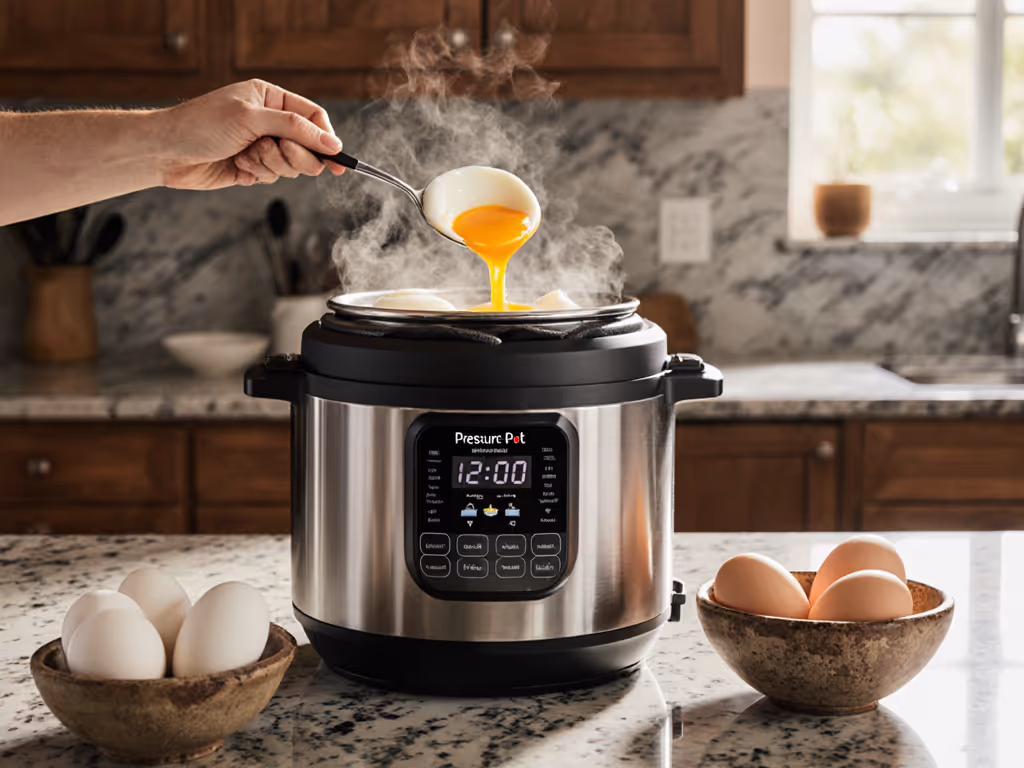
- Lower eggs into the basket: Once steam rises from the water, use a slotted spoon or small ladle to gently transfer each egg into the basket, resting on the steaming level, not in the water.
- Lock the lid and build pressure: Seal the lid and increase heat to high. Watch for the pressure indicator to rise. This takes 2-3 minutes.
- Cook at low pressure: Once the pressure indicator reaches the low-pressure mark, reduce heat (or press the "Pressure Cook" button on electric models) and set your timer for 4 minutes for soft-boiled, 6 minutes for medium, 8 minutes for hard-boiled. These times assume eggs started cold.
- Quick-release immediately: When the timer sounds, carefully vent the cooker using the quick-release valve. Do this slowly (steam escapes fast). Wear an oven mitt. Within 30 seconds, pressure should drop completely and the float valve (if present) will lower.
- Cool in ice water: Transfer eggs to an ice bath immediately. This halts cooking and makes peeling easier. Leave them for 2-3 minutes.
Soft Boiled Eggs Pressure Cooking Outcomes
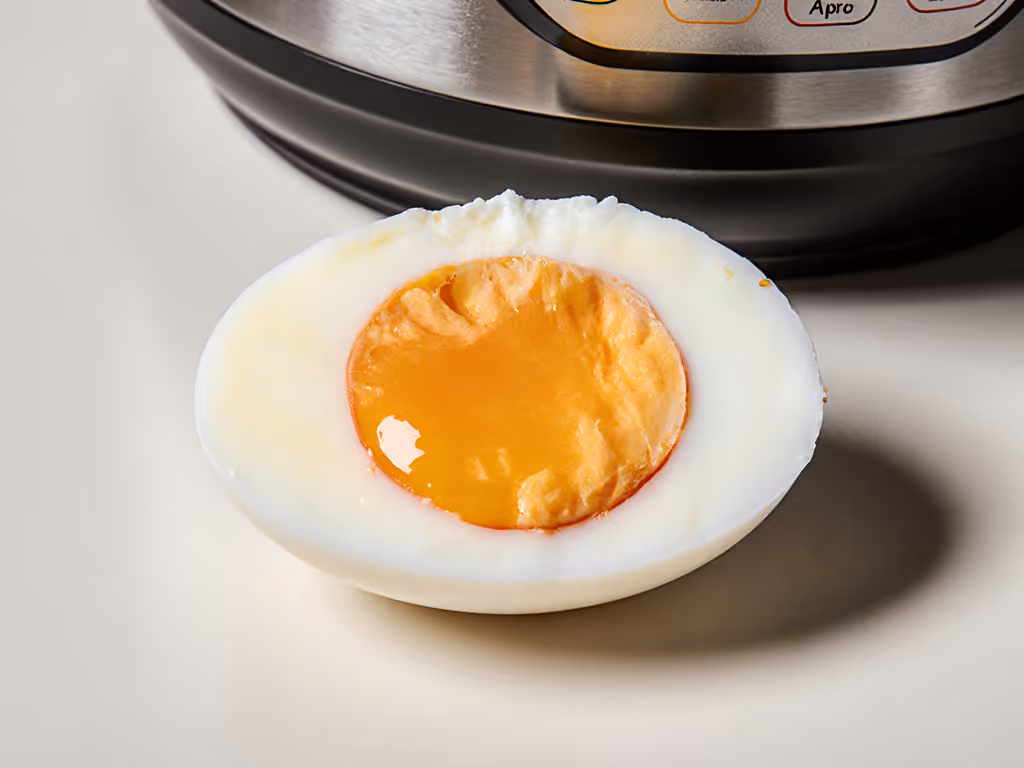
- 4 minutes at low pressure: Runny yolk, set white. Perfect for dipping soldiers.
- 6 minutes at low pressure: Barely jammy yolk, fully set white. Ideal for ramen or salads.
- 8 minutes at low pressure: Fully set yolk with a thin creamy layer at the center. Best for chopped egg salads or meal prep.
These timings hold across most cookers if your preheat is consistent and your quick-release is immediate. Delays in either stage will shift results by 1-2 minutes.
FAQ: Common Hurdles and How to Avoid Them
Q: What if the pressure won't build?
A: This is the most common failure point. Check:
- Liquid level: Is it at least 1 cup (check your manual)? Too little and the cooker can't generate steam.
- Lid seal: Is the gasket seated properly? Visually inspect the rubber ring, it should sit evenly all around.
- Valve position: Is the pressure valve set to "Seal" (not "Venting")? On electric cookers, is the pressure-release handle fully closed?
If all three are correct, wait 5 minutes. Some cookers take longer to pressurize, especially if your stove or electric element runs cool. If pressure still doesn't build, your gasket may be worn and need replacing. Walk through our step-by-step steam leaks and pressurization fixes for a fast diagnosis.
Q: Can I cook poached eggs directly in water without a basket?
A: Not safely at pressure. Eggs in direct contact with boiling water at high pressure can crack or explode. Always use a steamer basket or trivet. If your cooker didn't come with one, this is a reason to consider another model. Do not buy a third-party insert that won't fit properly.
Q: How do I prevent eggs from cracking?
A:
- Use eggs that are cold or room-temperature, never hot.
- Lower them gently into the basket using a spoon, don't drop them.
- Ensure the preheat is steady (steam rising evenly, not explosive boiling).
- Don't skip the ice bath (the sudden cooling stops the cooking shock that can create hairline cracks).
Q: My eggs turned greenish around the yolk. What went wrong?
A: A greenish ring (ferrous sulfide) appears when eggs overcook and sulfur in the white reacts with iron in the yolk. This is purely cosmetic and safe to eat, but it signals timing was off. Solutions:
- Reduce your cooking time by 1 minute.
- Confirm your pressure is actually on "low" (if it's on high, you're cooking hotter than intended).
- Check your quick-release timing (delays allow carryover cooking).
Q: Why does my cooker's manual not mention egg cooking times?
A: Most pressure cookers are designed for volume cooking (stews, legumes, grains). Egg-cooking is niche enough that manufacturers often omit it. This is frustrating but common. If the manual is unclear or missing crucial instructions, that's a UX failure. A good manual should offer options for delicate proteins, not just assume every user is batch-cooking beans.
Choosing a Pressure Cooker: What Actually Matters
Stovetop vs. Electric for Delicate Cooking
Stovetop models:
- Advantage: Direct heat control; you can respond instantly to pressure changes by adjusting flame.
- Disadvantage: Requires presence and attention; no set-and-forget option.
- Best for delicate proteins? Yes, if the user is comfortable with hands-on cooking and the cooker has a clear pressure line and quiet valve.
Electric models (like the Instant Pot Duo Plus or similar):
- Advantage: Programmable timers, consistent pressure maintenance, preset modes.
- Disadvantage: Less responsive to real-time adjustments; a delayed quick-release means carryover cooking you can't interrupt.
- Best for delicate proteins? Only if the pressure setting is clearly labeled and the quick-release button is intuitive and easy to locate. Electric cookers require more UI clarity, not less, because you have less real-time feedback. For a deeper breakdown, read our stovetop vs electric comparison and why PSI control matters for delicate foods.
Must-Have Features (Non-Negotiable)
- Low-pressure setting (typically 5-8 PSI, depending on model).
- Clear, legible pressure indicator visible without leaning into steam.
- Quiet or moderately-toned release valve (not a shrieking hiss).
- Steamer basket or trivet included (inspect it, can you grip it comfortably?).
- Quick-release function that's physically accessible and doesn't require menu navigation during cooking.
- Manual with a troubleshooting section that addresses common errors without jargon.
Size Considerations
For egg cooking, a 6-quart cooker is sufficient (you're not batch-cooking large volumes). Larger cookers (8-quart) work fine but are harder to store and overkill for delicate work. Smaller cookers (3-4 quart) limit your batch size but are easier to handle and preheat faster.
Maintenance for Longevity
After each use:
- Remove and rinse the silicone gasket under warm water to prevent odor retention.
- Wipe the valve and pressure indicator of any dried spots.
- Dry the lid upside-down to allow air circulation inside the gasket channel.
Replace the gasket every 12-18 months of regular use, or sooner if you notice steam leaking from the lid during cooking. A worn gasket is the leading cause of pressure-build failures.
Why Clarity Matters (Even When You Don't Think It Does)
Years ago, I tested a new cooker lid with winter gloves on (it was November in Cape Town, and the kitchen was cold). That single constraint taught me more than any specification sheet: my aunt's arthritis had already decided what "easy" really meant. A lid that required two hands to lock became impossible. A display that only lit up when you pressed a button became unreliable in dim morning light. A valve that hissed like a train meant she'd abandon the recipe midway, too overwhelmed by noise and uncertainty.
Delicate cooking intensifies these barriers. When margins are thin (when a two-minute error ruins a batch of eggs), unclear instructions or hard-to-read displays aren't inconveniences. They're failures of design. And they affect not just you, but anyone else using that cooker: a partner, a teenager, an older family member learning the technique.
A pressure cooker that delivers perfect poached eggs is one where anyone can replicate the result because the interface is intuitive, the steps are clear, and the feedback (pressure building, timer sounding, valve releasing) is unambiguous. That's not luxury. That's respect for your kitchen and your time.
Moving Forward: Build Your Confidence
Start with one practice session using stovetop or electric, whichever matches your setup. Cook a single batch of 4-6 eggs using the low-pressure technique above. Don't skip the preheat step, that consistency is what builds reliable results.
If your cooker didn't come with clear egg-cooking guidance, write it on a card and tape it inside your cupboard door: "Cold eggs → steamer basket → preheat (steam visible) → lock lid → low pressure → 4-6 min timer → quick-release immediately → ice bath 2-3 min." Make it a reference, not a memory challenge.
Read your cooker's troubleshooting section before your first cook. Know where the quick-release valve is. Practice locating it with your eyes closed. These small rituals eliminate the "oh no" moment when pressure is building and you realize you're unsure how to vent it.
If your current cooker has a dim display, a loud hissing valve, or an unclear manual (or if the steamer basket is awkward to grip), that's not a character flaw in you as a cook. That's a failure of the cooker to respect your need for clarity. Consider upgrading. A cooker you trust is one you'll use consistently, safely, and with less stress.
The best cooker for delicate proteins isn't the fanciest or most expensive. It's the one where every control is obvious, every setting is clear, and every outcome is predictable. That's not asking much. It's asking for kindness in design. And you deserve it.
Related Articles