Keto Pressure Cookers: The Complete Comparison
By Nia Mbatha • 27th Mar
When you're eating keto and using pressure cookers for meal prep, relying on low-carb cooking to batch-render fats and braise tougher cuts on a budget, the right equipment becomes non-negotiable. Pressure cookers aren't inherently "keto" machines, but certain models and features make the difference between consistent, flavorful results and hours of guesswork. This guide cuts through the confusion and shows you exactly what to evaluate when choosing a cooker that fits your lifestyle, not your hype feed.
FAQ: What Makes a Pressure Cooker Suitable for Keto Cooking?
Can You Actually Use a Standard Pressure Cooker for Keto?
Absolutely. The keto diet doesn't require specialized equipment; it benefits from reliable equipment. What changes is your priorities: you're rendering animal fats, cooking collagen-rich cuts (short ribs, brisket, oxtail) into gelatin-rich broths, and managing moisture carefully under pressure so your braises don't dilute into soups. Standard electric pressure cookers and stovetop models handle this beautifully, but you'll want clear liquid-level markings, quiet valve operation, and hassle-free cleanup after fat spatters.
I learned this while testing a new lid with winter gloves on (a detail that sounds trivial until you're managing a hot pot one-handed while injured). The same clarity matters when your hands are slick with rendered tallow, or when you're rushing through low-carb meal prep after a twelve-hour shift.
What Specific Features Should Keto Cooks Prioritize?
Three things stand out:
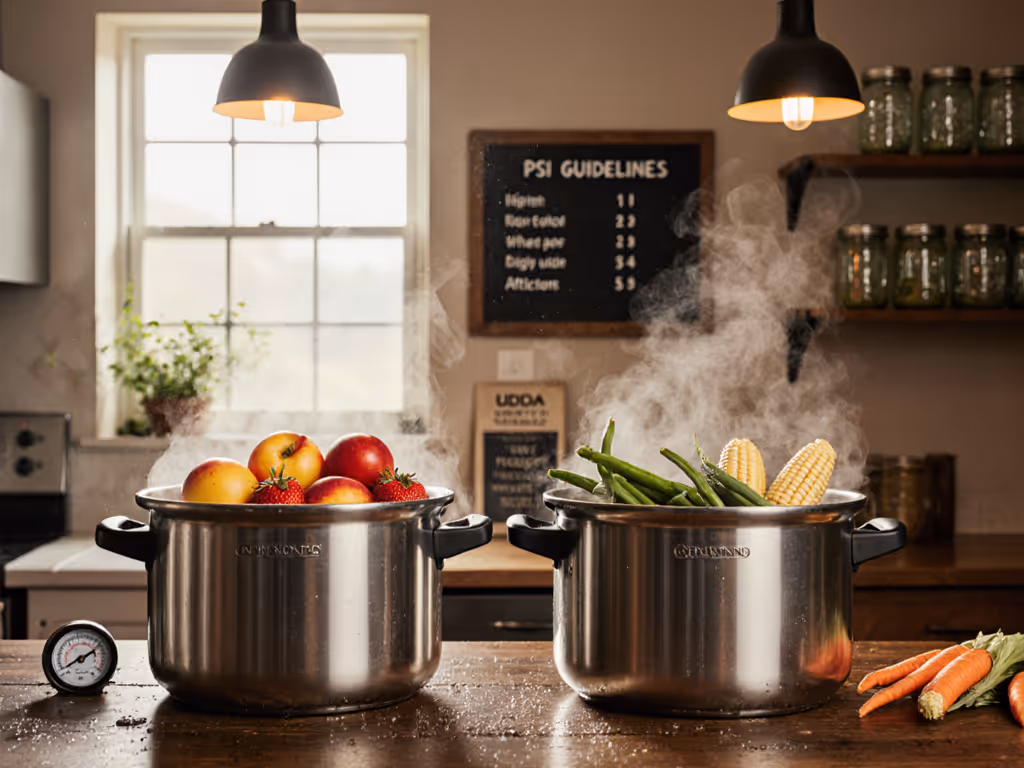
1. Low Minimum Liquid Requirements (or Models That Honor Small Amounts) Keto braises often use bone broth as your liquid base, which is rich and mineral-dense. Models that demand 2 to 3 cups minimum liquid can dilute your results. Look for cookers with flexible minimum-liquid rules or stovetop models where you have direct control. The Fissler Vitaquick, known for precise pressure control and compatibility with fat-rendering techniques, gives you that autonomy. For a deeper comparison of stovetop vs electric—and why PSI really matters—see our stovetop vs electric guide.
2. Stainless Steel Inner Pots (Not Nonstick) When you're searing marbled beef or rendering pork belly before pressure cooking, nonstick coatings can chip, and the cleanup is a nightmare. Stainless steel handles fat splatter, cleans quickly under hot water, and outlasts nonstick by years.
3. Quiet, Reliable Valve Operation If your cooker hisses aggressively during pressure release, every cook session becomes an ordeal, especially if you share a kitchen or have sensory sensitivities. Ease-of-use is a safety feature, not a luxury, and that includes audio cues you can tolerate. Check YouTube reviews specifically for stovetop whistle volume or electric-model venting noise before you buy.
Which Pressure Cooker Models Work Best for Keto?
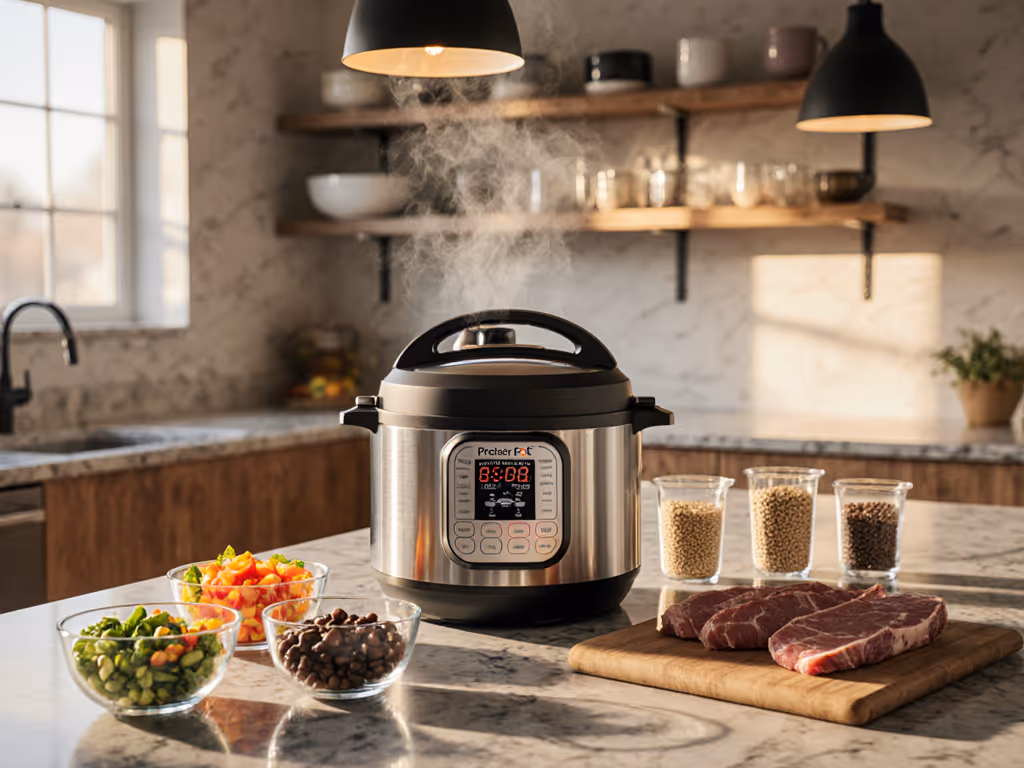
Best Overall for Keto Meal Prep: Instant Pot Duo Plus
The Instant Pot Duo Plus Multi-Use Pressure Cooker wins for consistency and build quality. It offers 25 cooking presets, a stainless steel inner pot, and dishwasher-safe components, all critical when you're batch-cooking 4 to 5 meals weekly. Its 8-quart capacity lets you cook a whole chicken or 3 pounds of short ribs in one go. The manual-pressure mode gives you override power if a recipe demands lower PSI for delicate work. Dimensions are 15 x 14 x 15 inches, and it weighs 19.7 pounds, so factor that into smaller kitchens.
Best for Stovetop Control: Fissler Vitaquick
If you want to feel what's happening, feel the ramp-up in pressure, hear the whistle shift, and decide your exact release pace, the Fissler Vitaquick is your baseline. Stovetop cookers let you respond to real-time cues rather than guessing algorithm behavior. This is especially useful when rendering collagen or tenderizing game meats, where timing and textures matter greatly. You'll sacrifice "set and forget," but you gain precision and direct feedback.
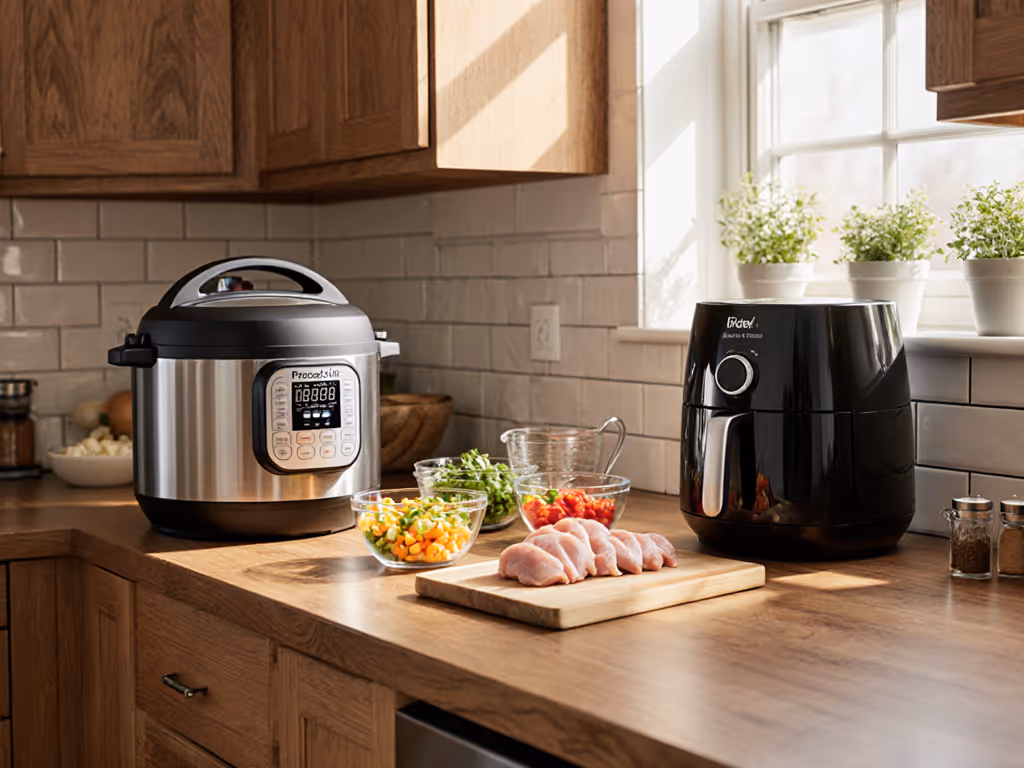
Best for High-Capacity Batch Prep: Instant Pot Duo Crisp 11-in-1
At 8 quarts, the Instant Pot Duo Crisp is one of the largest models available. For a household doing serious keto prep, or a small meal-prep business, this capacity eliminates batch limitations. It excels at pressure-cooking and slow-cooking, includes air-fry and dehydrate modes (useful for keto snack prep), and sports a stainless steel inner pot and storage cover.
Best Budget Option: COSORI 9-in-1 Multi Cooker
If budget is tight, the COSORI 9-in-1 competes without shortcuts. It's rated as a best budget pressure cooker and handles keto diet cooking methods as reliably as pricier rivals: slow-cooking braises, pressure-cooking tougher cuts, and sautéing meat bases without flinching. It's smaller than the Instant Pot Duo Crisp but sufficient for 2 to 4 person weekly prep.
FAQ: How Do You Actually Cook Keto Meals in a Pressure Cooker?
What's the Workflow for Rendering Fat?
This is where fat-rendering techniques shine in a pressure cooker:
-
Sauté Phase: Use your cooker's sauté function to render fatty cuts (pork shoulder, beef brisket, chicken thighs with skin) slowly, uncovered. Let the fat separate; save it. This step takes 8 to 12 minutes and builds flavor while clarifying your cooking base.
-
Deglaze & Aromatics: Add broth, wine, or vinegar; scrape the fond. Toss in thyme, bay leaf, and crushed garlic. No vegetables (they'd cloud your broth and add carbs you don't want).
-
Pressure Cook: Seal the lid, set PSI according to cut (usually 20 to 30 minutes at pressure for 2 to 3 pound cuts). Use natural pressure release (15 to 20 minutes) rather than quick release; this allows collagen to fully gelatinize and meat to rest without drying.
-
Strain & Cool: Let fat solidify on the surface overnight. Skim it off (this is your cooking fat for the week). The liquid below is a silky, keto-friendly bone broth worth the effort.
The Instant Pot Duo Plus and Fissler Vitaquick both manage this workflow without drama. The key is that stainless steel pot: it tolerates high sauté temps without degrading.
How Do You Control Moisture in Keto Braises?
Moisture control under pressure means balancing liquid for pressure (you need some) against diluting your final dish. Keto braises are sauce-optional; you want concentrated, savory depth.
Tactics:
- Use bone broth instead of water as your baseline liquid. It's richer and requires less seasoning later.
- Reduce the liquid by 25 to 30% compared to non-keto recipes (since you're not serving over rice or bread that would soak it up).
- For tougher cuts (chuck roast, brisket), 2 cups liquid per 3-pound cut is standard; some cooks use as little as 1.5 cups and rely on quick release to avoid drying.
- If your braise finishes too watery, use the sauté function after pressure cooking to reduce it to a glaze (uncovered, no lid, 5 to 8 minutes). This concentrates collagen and fat without overdrying the meat.
- Test one low-carb meal-prep batch first. Jot notes on liquid amounts and release method so you can repeat it next time.
What About Meal-Prep Scaling?
When you're prepping 5 lunches at once, capacity and heat distribution matter. Here's the math: If you're planning large-batch keto prep, compare top 8-quart pressure cookers for capacity and stability.
- Instant Pot Duo Plus (6-quart): Best for 3 to 4 person household or 5 meal-prep days for one.
- Instant Pot Duo Crisp (8-quart): Best for families or batch-prepping 10+ meals at once.
- Fissler or T-fal stovetop models (typically 6 to 8 quart): Best if you want low-hands-on time and don't mind the learning curve.
Keto proteins freeze beautifully. Cook a 3-pound brisket or 5 pounds of ground beef (in batches) on Sunday, portion into glass containers, and freeze. Reheat in a microwave or low oven without loss of quality. No need to batch every single day.
FAQ: What Are the Common Pitfalls with Pressure Cookers, and How Do You Avoid Them?
What Causes "BURN" Errors?
Electric pressure cookers throw a BURN error when the heating element scorches food particles stuck to the pot bottom. If your display shows specific codes, our pressure cooker error codes guide explains fixes by brand. Keto cooks hitting this often are rushing the sauté phase or adding too-dry meat without enough fat or liquid buffer.
Prevention:
- Always sauté in batches if you have more than 2 pounds of meat. Don't overcrowd.
- Let rendered fat pool; it's your non-stick layer.
- Add at least 1/2 cup liquid (broth or bone broth) before sealing. Don't skip the deglazing step.
- Use natural pressure release for 15+ minutes; this allows any particles to separate from the pot.
The Instant Pot Duo Plus is particularly responsive to this error, which is good (you catch problems) and annoying (some users reset and try again). The COSORI 9-in-1 is slightly more forgiving because its heating element distributes heat more evenly.
What If Your Silicone Ring Retains Odor?
Keto cooking is fatty; fat clings to silicone. After 6 to 12 months of use, your sealing ring may smell faintly rancid or oniony, not a food-safety issue, but unpleasant.
Quick fixes:
- Soak the ring in white vinegar and baking soda (1:1 ratio, add water) for 1 to 2 hours weekly. Rinse thoroughly.
- Buy a replacement ring. Most brands sell them for $8 to $12 and they last another year of daily use.
- Designate one ring for savory/meat cooking and another for broth-only sessions if possible.
Neither the Instant Pot nor COSORI models differ significantly here. This is standard silicone behavior across the board. Plan to replace every 12 to 18 months of heavy use.
How Do You Know Your Beans or Meat Are Actually Cooked?
Underdone beans can cause stomach upset; overcooked ones turn to mush. Keto diets with legumes (chickpeas, lentils) still require care.
Test your first batch:
- Pressure cook for the minimum recommended time (for example, dried beans: 20 minutes at high pressure).
- Use natural pressure release for 10 minutes, then quick release the rest.
- Remove one bean, let it cool, and bite it. If it's firm but not chalky, it's ready. If it's hard, seal and cook another 5 minutes.
- Write down the actual time for next time.
For meat, use a meat thermometer: 165°F (poultry), 160°F (ground), 145°F (beef/pork medium-rare). The pressure cooker's doneness signals are approximate; thermometer readings are not.
Tools should fit you (and that includes a simple $8 meat thermometer). Don't skip it.
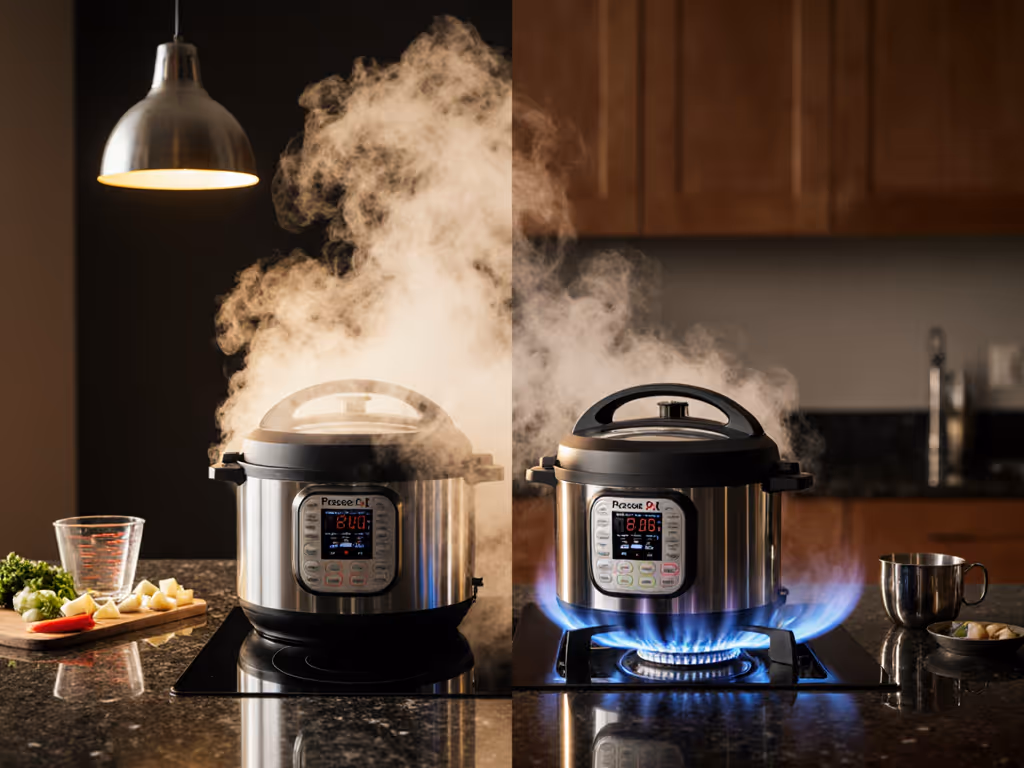
FAQ: How Do You Choose Between Stovetop and Electric Models for Keto?
Stovetop Pressure Cookers: When Do They Win?
Fissler Vitaquick and similar stovetop models excel if:
- You heat via gas or induction and like hands-on feedback.
- Your kitchen has limited counter space (stovetop cookers store in a cupboard).
- You're rendering large quantities of fat regularly; stovetop heat is more responsive to temperature tweaks.
- You're cooking for a crowd (12+ quarts capacity available in some stovetop models).
- You want the lowest total cost upfront ($80 to $150 for solid models vs. $200 to $500 for electric).
Downsides: You must monitor the stovetop, manage the whistle or weight rocker, and time manual releases. Not ideal if you want to walk away.
Electric Pressure Cookers: When Do They Win?
Instant Pot Duo Plus, Instant Pot Duo Crisp, and COSORI models excel if:
- You value "set and forget" reliability: hit a button, walk away, meal's ready when you return.
- You live in a small kitchen and need counter space that doubles as serving area.
- You're new to pressure cooking and appreciate presets as training wheels.
- You slow-cook or dehydrate regularly; electric models offer these modes integrated.
- You want consistent, repeatable results across batches without guessing the heat level.
Downsides: Higher upfront cost, larger footprint, and some users dislike the learning curve around BURN errors or liquid minimums.
FAQ: Is a Pressure Cooker Actually More Energy-Efficient Than Other Methods?
Yes, particularly for keto's signature cuts. Learn the science behind these savings in our energy efficiency explainer. A low-carb cooking pressure cooker uses 70% less energy than slow-cooking the same brisket in an oven for 8 hours. For beans or tougher meats, pressure cooking wins over stovetop simmering by 40 to 60% because the time is so compressed.
However, if you're cooking tender cuts (like chicken breasts or quick-searing ribeyes), pressure cooking offers no energy advantage. Use it for its true strength: transforming cheap, tough cuts into tender, collagen-rich meals in under an hour from start to table.
The Verdict
There's no single "keto" pressure cooker; the best one is the one you'll actually use, that fits your kitchen, and that makes your low-carb meal prep predictable and quiet. For most keto households, the Instant Pot Duo Plus balances cost, capacity, and ease. If you're serious about batch rendering and don't mind monitoring the stovetop, the Fissler Vitaquick offers precision and durability. Budget-conscious cooks won't regret the COSORI 9-in-1.
Start with one model. Run 3 to 5 test meals using the same recipe and note every variable: liquid amount, pressure level, release method, final texture. Build your personal reference guide. Share it with anyone else who cooks in your home. Confidence is contagious, and repeatable results are how you keep people eating keto when life gets busy.
Your pressure cooker isn't a shortcut; it's a system that delivers the tenderest braised short ribs, the most silky broths, and the most affordable path to keto sustainability. Tools should fit you, not the other way around.
Related Articles