Competitive Pressure Cooking: Time-Boxed Strategies to Win
By Mei Tanaka • 17th May
Competitive pressure cooking isn't just for TV shows. Whether you're entering a local contest or racing the clock after work, you can use the same food competition techniques to make pressure cooking predictable, fast, and repeatable. This guide turns competitive pressure cooking into a clear, time-boxed system you can practice and reuse.
Templates turn pressure into predictable, calm weeknights and full fridges.
I'll walk you through a step-by-step framework: you'll map your clock, standardize times across any cooker, design a safe release strategy, and build a "pressure playbook" you can lean on in contests and on busy Tuesdays.
--
Step 1 - Map the "Competition Clock" (Total Time, Not Just Cook Time)
Most frustration in speed pressure cooking comes from hidden minutes: preheat, pressure release, and finishing.
Think like a competitor: build your timeline from "now" to "serve", not just "cook time". For a typical electric pressure cooker, here's a realistic breakdown:
- Preheat & pressurize: 8-15 minutes (depends on volume, liquid temp, and model)
- At-pressure cook time: 5-45 minutes (recipe-dependent)
- Pressure release:
- Quick Release (QR): 1-3 minutes
- Natural Release (NR): 10-25+ minutes
- Combination: 5-15 minutes
- Finish & plate: 5-10 minutes (thickening, garnishes, cutting portions)
A "30-minute" recipe can easily take 45-55 minutes door-to-door. In a contest or a tight weeknight, that's the difference between hitting the table on time or eating late.
Your 1-Time Measurement Drill (10 minutes)
You only need to measure your cooker's behavior once:
- Fill to a normal level (about 2/3 full) with water.
- Set High Pressure for 10 minutes.
- With a timer in hand, record:
- Time from Start -> Pressure reached.
- Time from End -> Full Natural Release.
- Repeat once using Quick Release at the end.
Now you know your:
- Preheat constant (e.g., 11 minutes)
- NR constant (e.g., 18 minutes)
You'll use those constants in all your time-limited cooking techniques:
Total time = Preheat constant + Cook time + Release constant + 5-10 minutes to finish.
This single measurement is one of the most powerful "contest cooking strategies" you can own.
--
Step 2 - Build a 60-Minute Pressure Playbook
Instead of chasing new recipes, build one 60-minute template you can swap ingredients into. Mine started with one pot of beans, one grain, and one protein that turned into five different meals. For no-soak timing and texture tips, see our pressure cooker bean guide. The grid never changed; the ingredients rotated.
Here's a baseline 60-minute playbook you can practice like a drill. Assume you've already done the preheat/NR measurements from Step 1.
Example: 60-Minute Braised Chicken & Beans (6-8 portions)
Target yield:
- ~6-7 cups cooked beans
- ~4 cups shredded or sliced chicken
- Total: feeds 4 for dinner + 2-4 leftover portions
00:00-00:10 - Setup & Flavor Base (10 minutes)
- Start cooker on Sauté/High.
- Season chicken pieces (salt, pepper, basic spices (nothing exotic required)).
- Chop onions/garlic while pot heats.
- Sear chicken 2-3 minutes per side.
- Remove chicken, add onions/garlic, toast spices.
00:10-00:15 - Load & Seal (5 minutes)
- Add rinsed beans, measured liquid (use your cooker's minimum plus enough to cover by ~1 inch).
- Return chicken on top.
- Deglaze bottom thoroughly to avoid BURN.
- Lock lid. Set High Pressure for your tested bean+chicken time (say 25 minutes on your model).
00:15-00:26-30 - Preheat & At Pressure (11-15 minutes)
- Cooker comes to pressure (your preheat constant).
- Once at pressure, hands-off; prep sides:
- Quick-cook grain on the stovetop or rice cooker.
- Chop herbs, slice garnish veg.
00:40-00:50 - Release & Finish (10 minutes)
- Use 10 minutes Natural Release, then Quick Release remaining.
- Open, taste beans and chicken:
- If slightly underdone, re-pressurize 3-5 minutes.
- If perfect, remove chicken to shred.
- Switch to Sauté to reduce liquid 5 minutes if too soupy.
00:50-01:00 - Plate & Package (10 minutes)
- Serve dinner portions.
- Cool leftovers quickly in shallow containers.
- Label: "Chicken + beans - 1 cup = ~1 serving, reheat with 2 Tbsp water, 2-3 min in microwave".
Congratulations: you've just run a competitive food preparation drill. Repeat this playbook with different beans, spices, and proteins to train speed and predictability.
In time-boxed cooking, you don't chase single perfect dishes; you refine one reliable template.
--
Step 3 - Standardize Times Across Any Pressure Cooker
One reason contest recipes fail at home: high/low pressure isn't standardized. Stovetop "high" often runs 13-15 PSI; many electrics run closer to 11-12 PSI. For a deeper breakdown of how PSI differences impact results (and which type fits your style), read Stovetop vs Electric Pressure Cooker: Why PSI Matters.
Use this simple adjustment system:
3.1 Electric vs. Stovetop
- Recipe written for stovetop high -> using electric high:
- Add 15-20% to cook time.
- Recipe written for electric high -> using stovetop high:
- Subtract 10-15% from cook time.
Example: brisket 45 minutes on stovetop high -> 52-54 minutes on electric high.
3.2 Altitude Adjustment
Above ~2,000 feet, air pressure drops, so water boils at a lower temperature.
- Add 5% cook time per additional 1,000 ft of elevation.
- Example: 5,000 ft is about 3 x 5% = 15% extra time.
Combine this with the electric/stovetop adjustment, and you have a portable rule you can use on any model.
3.3 Smart Calculators as a Speed Tool
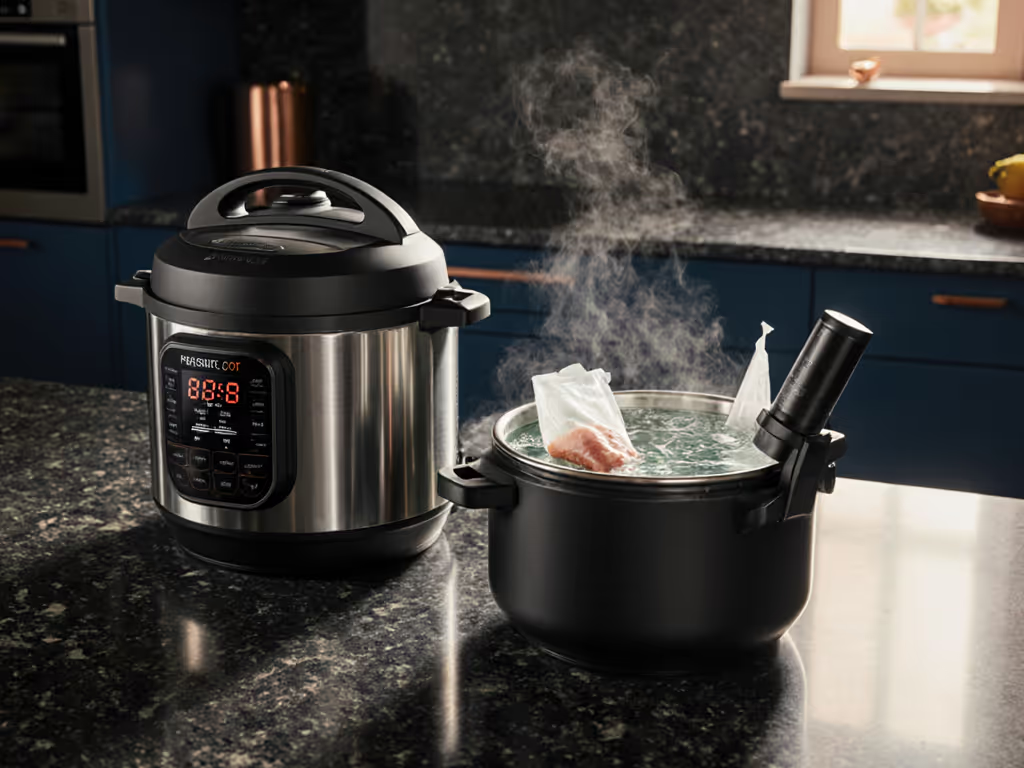
If you like data-backed presets, a smart pressure cooker with a built-in scale and app-based cooking calculator can remove guesswork during intense, time-limited runs. A model like the CHEF iQ Smart Pressure Cooker with WiFi and Built-in Scale can calculate times based on ingredient type, prep, and weight, which is especially useful when you're juggling multiple dishes or need precise speed pressure cooking without manual math.
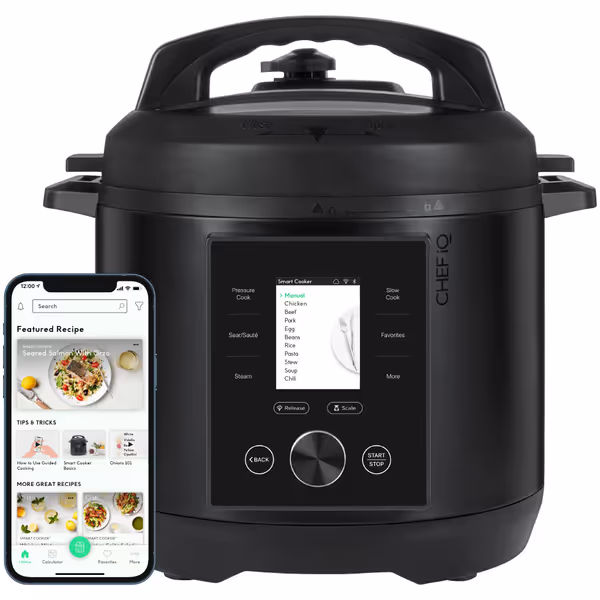
CHEF iQ Smart Pressure Cooker
Effortless pressure cooking with smart guidance, built-in scale, and auto-release.
$149.99
Capacity6 Quart
Capacity6 Quart
Pros
Guided cooking videos & 500+ recipes eliminate guesswork.
Built-in scale simplifies prep, no measuring cups needed.
Automatic pressure release ensures safety and convenience.
Cons
Some users report app connectivity issues.
Customers find the pressure cooker to be an amazing kitchen gadget that's simple to use, with step-by-step instructions and guided cooking videos. The device cooks food perfectly, especially under pressure cook settings, and customers appreciate the tons of recipes available, with one mentioning it helps with shopping lists.
Customers find the pressure cooker to be an amazing kitchen gadget that's simple to use, with step-by-step instructions and guided cooking videos. The device cooks food perfectly, especially under pressure cook settings, and customers appreciate the tons of recipes available, with one mentioning it helps with shopping lists.
I still prefer large-capacity, stainless-steel inner pots and dishwasher-safe parts for batch cooking, but smart presets can be a powerful training tool while you learn your own timing constants.
--
Step 4 - Choose the Right Release Strategy for Texture and Time
In contests and tight weeknights, pressure release is where time and texture can either align or explode.
Use this decision grid:
4.1 Quick Release (QR)
- Use for: vegetables, seafood, delicate pasta, thin cuts of meat.
- Pros: fastest; prevents overcooking.
- Cons: can toughen some meats and make beans split.
Rule: If ideal stovetop cooking time is under ~15 minutes, default to QR. Not sure when to use QR vs NR? Get exact guidance in our Natural vs Quick Release guide.
4.2 Natural Release (NR)
- Use for: large roasts, dense beans, thick soups, broths.
- Pros: gentler finish, less foaming, safer for high-starch dishes.
- Cons: slow; typically adds 10-25 minutes.
Rule: If the at-pressure time is 30+ minutes, plan at least 10 minutes NR in your clock.
4.3 Combination Release
- Let pressure drop naturally 10-15 minutes.
- Then switch to QR for the rest.
This is the sweet spot for contest cooking strategies: better textures than full QR, but faster than full NR.
Always angle steam away from you, and never force the lid. Speed is useless if safety goes out the window.
--
Step 5 - Batch for Advantage: Cook Once, Enjoy Twice (or More)
Even in formal competitions, cooks often build components in advance. At home, this is where "cook once, enjoy twice" really shines.
5.1 Choose High-Leverage Staples
Pick one staple that:
- Uses cheap, forgiving ingredients (dry beans, chicken thighs, pork shoulder).
- Scales well in a 6-8 quart cooker (aim for 8-10 cups yield).
- Can be re-flavored into multiple dishes.
Examples:
- Neutral-seasoned black beans (later: tacos, bowls, blended soup).
- Lightly seasoned shredded chicken (later: curry, pasta, sandwiches).
5.2 Standard Batch Template
- Cook: Use your 60-minute playbook.
- Portion: Into 1-2 cup portions (label yields in cups and portions).
- Label fridge/freezer:
- Name
- Date
- Portion size (e.g., "1 cup = 1 serving")
- Reheat notes: "Microwave from cold: 2-3 min with splash of water; from frozen: 5-6 min, stir once."
- Store: 3-4 days in fridge, 2-3 months in freezer for most braises and beans.
These batch and reheat notes turn your freezer into an ally during any week that already feels like a cooking contest.
--
Step 6 - A 30-Minute Practice Drill (Actionable Next Step)
To lock in these time-limited cooking techniques, run this drill once this week. No exotic ingredients, no fancy plating (just system practice).
Goal
- Produce 4-5 cups of seasoned beans or lentils in 30 minutes of active time, plus unattended pressure time.
Drill Timeline
- 00:00-00:05 - Setup
- Start cooker on Sauté.
- Rinse 2 cups lentils or small beans.
- Chop 1 onion, 2 cloves garlic.
- 00:05-00:10 - Sauté & Load
- Sauté onion/garlic 3-4 minutes.
- Add lentils/beans, salt, basic spices.
- Add liquid according to your cooker's rules.
- Deglaze thoroughly.
- 00:10-00:13 - Seal & Set
- Lid on, set High Pressure for your tested time (e.g., 10 minutes for lentils).
- 00:13-00:23+ - Preheat & Cook (Unattended)
- While cooker works, write on your label: name, date, yields, and reheat notes.
- 00:23+ - Release Strategy
- Try 5 minutes NR, then QR (combination release).
- Taste; note final texture and total time.
Record your results:
- Preheat constant for this volume.
- Actual total time from Start -> Ready to eat.
- Final texture vs. your target.
Repeat this same drill another day, tweaking time slightly based on your notes. You've just done what serious competitors do: test, log, adjust.
--
Bringing It All Together
Competitive pressure cooking is less about drama and more about systems: known constants, tested templates, and clear labels. When you:
- Map your real competition clock (preheat + cook + release + finish),
- Standardize times across models and altitude,
- Choose smart release strategies,
- And batch components so you can cook once, enjoy twice,
...you get both contest-ready reliability and peaceful weeknights.
Your action step now: pick one 60-minute window this week and run the braised chicken & beans or lentil drill. Time every phase, write it down, and save your timings with your cooker manual. That becomes your personal pressure playbook (a system you can hand to a partner, a teen, or your future, tired self and still get consistent, on-time results).
Related Articles