Accessible Pressure Cooking: Adaptive Techniques & Tools
By Arjun Mehta • 3rd Mar
Pressure cooking offers speed and energy efficiency, but accessibility barriers (gripping mechanisms, steam burns, complex controls, and two-handed workflows) shut out millions of home cooks with limited mobility, arthritis, or disability. Adaptive kitchen tools and systematic protocol design transform pressure cooking from risky to reliable. This guide cuts through guesswork with structured, testable approaches to accessible pressure cooking that prioritize measurement, safety, and repeatability.
What Exactly Changes When You Cook Under Pressure With Limited Mobility?
Nothing about the thermodynamics changes, but everything about the human interface must.[1] Pressure cooking demands precision, but dexterity needn't be a barrier when you standardize the workflow. The core difference lies in three zones: the before (ingredient prep and safety checks), the during (sealed operation with no intervention), and the after (venting and lid release).
With standard pressure cookers, the lid-locking mechanism requires grip strength and rotational torque, a steep barrier for anyone with arthritis, hemiparesis, or reduced hand strength. Electric multifunctional models, by contrast, handle the locking and release via button press. This is not a cosmetic convenience; it's a functional boundary.[2] A blind cook recently published data showing that smart, Bluetooth-enabled programmable pressure cookers eliminated tactile guesswork: they announce completion and accept voice or button input rather than demanding real-time monitoring of a pressure valve.[2]
What gets measured gets reliably repeated in busy kitchens, and accessible design must begin with that principle.
How Do Pre-Flight Checks Reduce Burn Risk and Failures?
Risk mitigation starts before you add heat. Pre-flight checks (borrowed from aviation and medical safety) are non-negotiable.[1]
Pause, check, proceed. That's your mantra.[1] Here's the checklist:
- Inspect the sealing gasket. A cracked or warped ring causes steam escape and pressure drop. If you notice steam escaping or failure to build pressure, use our steam leak troubleshooting guide. Remove, inspect for cracks, and verify it seats flush in the groove.
- Verify liquid minimum. Most stovetop and electric models require 1 to 2 cups of liquid (check your manual). Insufficient liquid causes overheating and a BURN error.[1]
- Load the pot strategically. Fill no more than two-thirds of the internal capacity. Exceeding this causes liquid to splash into the vent pipe, clogging it and forcing a pop-off.
- Check vent clearance. Ensure the sealing knob or valve is clean and moves freely. Food residue jams it.
- Position yourself for safety. Never lean over or reach across the cooker. Set phone timers so you're not straining to watch (this removes the temptation to lift the lid prematurely).[1]
For those with limited reach or dexterity, store all tools within elbow height and use a lowered tray table (like a serving station) for prep work rather than stretching across high counters.[1] Never stretch over hot surfaces.[1]
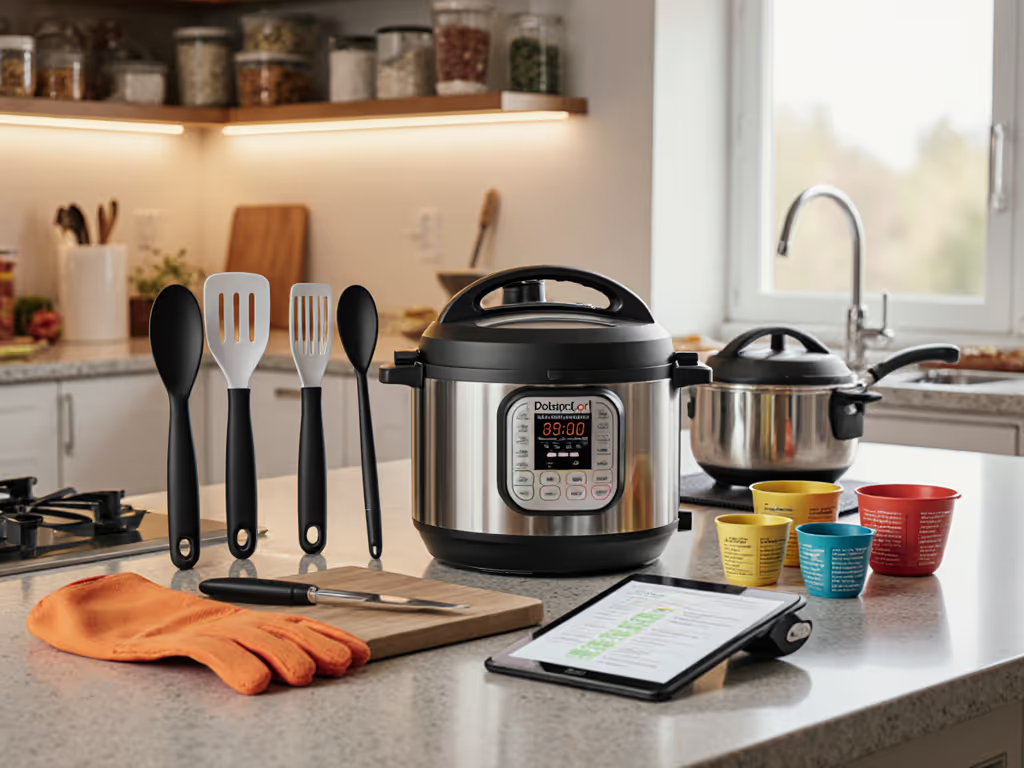
Which Adaptive Kitchen Tools Actually Deliver Results?
Not all adaptive equipment is created equal. Evidence over anecdotes means testing each tool against your specific workflow.
Grip and Stabilization:
- Non-slip, textured grippers reduce the force needed to open jars, twist lids, or handle wet ingredients. Choose grippers with padding (they distribute pressure and ease hand fatigue).[3]
- Non-slip mixing bowls with spouts eliminate the need to grip a standard bowl while stirring. The bowl stays stationary, and magnetic measuring spoons stick to metal surfaces, removing the dexterity step.[2]
- Utensils with larger handles and angled designs require less wrist and arm movement.[2] Test them in your hand before buying; comfort is measurable.
Ingredient Preparation:
- Portable blenders (the size of a water bottle) let you process ingredients without hauling out and securing full-size equipment.[3] They reduce energy expenditure for frequent cooks.
- Color-coded measuring and storage containers simplify allergies and batch-cooking systems, especially if cognitive or memory load is a factor.[7] Catering suppliers stock these at lower cost than disability-specific retailers, and often in better colors.[7]
Reach and Positioning:
- Long tongs (12+ inches) function as food-safe grabbers when full-size utensils are out of reach.[7] They also keep hands at a safer distance from steam and hot edges.
- Lightweight, silicone-lined trivets and cooling racks prevent burned fingers when handling hot pots or lids. Silicone clings without slipping.
Electric vs. Stovetop for Accessibility: Electric multifunctional cookers (programmable slow cooker/pressure cooker hybrids) eliminate the need to monitor a stovetop heat source, watch a jiggling pressure regulator, or manually control a valve release.[2] The trade-off: less tactile feedback and a higher upfront cost. If one-handed operation, vision limitations, or tremor are factors, the automation is worth the investment.
How Do You Release Pressure Safely With Limited Dexterity?
Pressure release is where many accidents happen, especially for cooks with limited grip or mobility. There are two methods: quick release vs natural release. Choice matters because it affects texture, doneness, and safety.
Quick Release (Manual Venting): You open the valve to vent steam rapidly. This is fast but dangerous if:
- You have tremor or unsteady hands (risk of steam burn).
- The recipe contains foamy foods (beans, oats, pasta). Foam clogs the vent, and pressure rebuilds unpredictably.[1]
- You cannot safely reach the valve or need both hands to operate it.
Natural Release (Time-Based): You turn off heat and let pressure drop passively over 10–20 minutes. This:
- Eliminates manual valve manipulation.[1]
- Prevents splatter for foamy foods.[1]
- Works well with meat braises, stocks, and delicate vegetables.
- Fits easily into a set-and-forget workflow: set a phone alarm and walk away.[1]
For cooks with limited mobility, natural release is the safer default. Pair it with a phone timer so you're not hovering or straining to monitor pressure.[1]
What's the Real Difference Between Stovetop and Electric Models for Accessibility?
Stovetop models rely on you to manage heat and vent a pressurized valve, a high barrier to entry if dexterity or vision is limited. Electric models automate pressure regulation but require you to trust sealed electronics and diagnose errors on a small display.
If you have:
- Limited hand/wrist strength: Electric models win (button controls, no twisting).
- Tremor or difficulty reaching a stovetop valve: Electric models win (no manual venting).
- Vision limitations: Smart Bluetooth-enabled models can announce readiness and accept voice input, removing guesswork.[2]
- Budget and stovetop access: Stovetop models are cheaper and offer tactile feedback, but require adaptive tools (extended handles, silicone cozies on lids to soften grip demands).
The takeaway: evidence points to electric models as lower-risk for most accessibility scenarios. For a deeper, disability-focused walkthrough of setup, tools, and workflows, see our adaptive pressure cooking guide. Pair that choice with systematic pre-flight checks and natural release, and the system becomes predictable.
How Should You Organize Your Pressure-Cooking Workflow for One-Handed or Limited-Mobility Cooking?
Systematic layout beats improvisation. Store all frequent tools within elbow reach. A lowered prep surface (dining tray, rolling cart at waist height) beats stretching to countertops.[1] Label and organize recipes by cook time, ingredient count, and release method. This reduces decision fatigue and cuts prep mental load.
For electric cookers, keep the manual visible or bookmarked online so you're not hunting buttons during a time-sensitive step. Set phone alarms for each phase: prep, come-to-pressure, rest, natural release, and lid-opening readiness. Automation of time reminders eliminates the need to watch or track duration mentally.
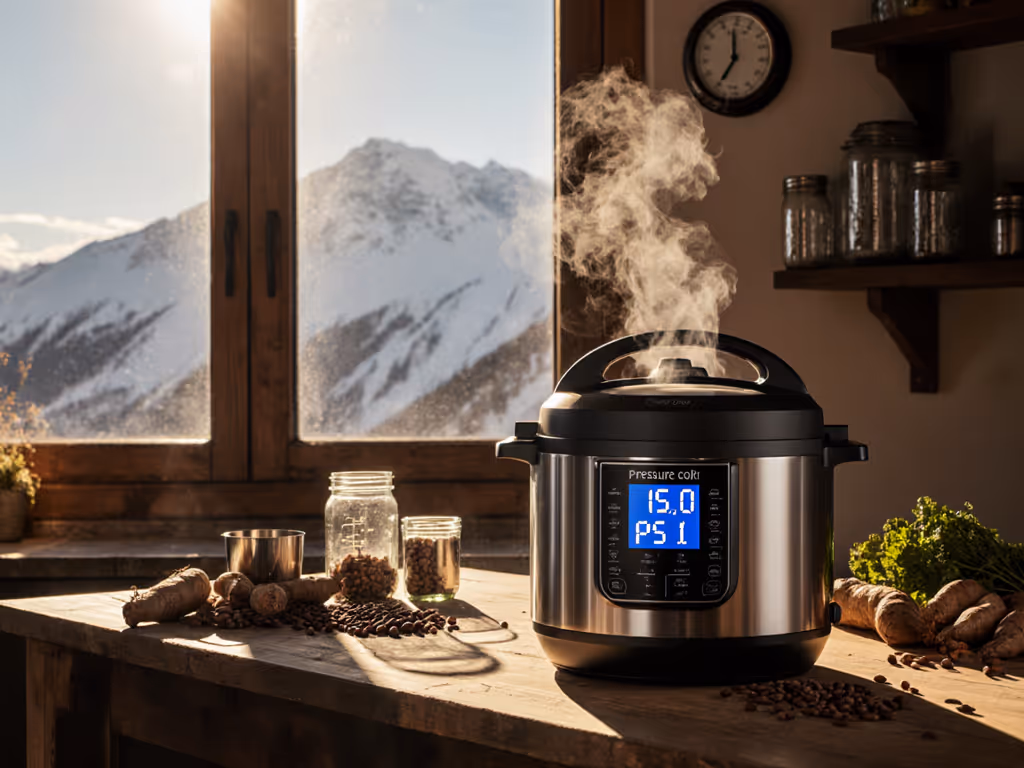
Measure and record your cooker's actual preheat and release times under your conditions (altitude, cookware type, liquid amount). If you cook above 3,000 feet, use our high-altitude adjustment guide to calibrate times and liquid. After three test runs, you'll have a personalized truth sheet that beats generic recipes.
What's the Next Step for Building Confidence?
Start with one recipe you cook regularly and run three identical batches, logging:
- Preheat duration (lid on, heat source at full power to first steam release).
- Time to full pressure (when hissing/counting down begins).
- Actual cook duration.
- Release method and total vent time.
- Final texture and doneness.
Document the conditions: cooker model, heat source (gas/electric/induction), batch size, and altitude. After three runs, you'll have evidence rather than guesswork. Adjust liquid, heat, or release timing based on actual results, not forums or YouTube debates.
Then expand to a second recipe: beans or rice are forgiving starting points. Each new recipe you test becomes a data point that informs your next decision. This is how kitchens become systems instead of experiments.
Accessible pressure cooking is not about special recipes or low-tech shortcuts; it's about systematic design, adaptive tools that reduce physical demand, and protocols grounded in evidence. Start small, measure everything, and build from there.
Related Articles